How To: Middle Part Quick Weave Leave Out #Quickweave
- Posted on 24 February, 2022
- Sew-In Hair Extensions
- By Anonymous
BeautyByDinah
Hey beautiful people thank you all for stopping by and checking out my latest tutorial. Continue subscribing and supporting this channel. I love you all
WE ARE ON OUR WAY TO 1K supporters
Business email: [email protected]
Snap Chat : Dinahgrace78
Facebook: Dinah Grace
Instagram: BeautyByDinah_
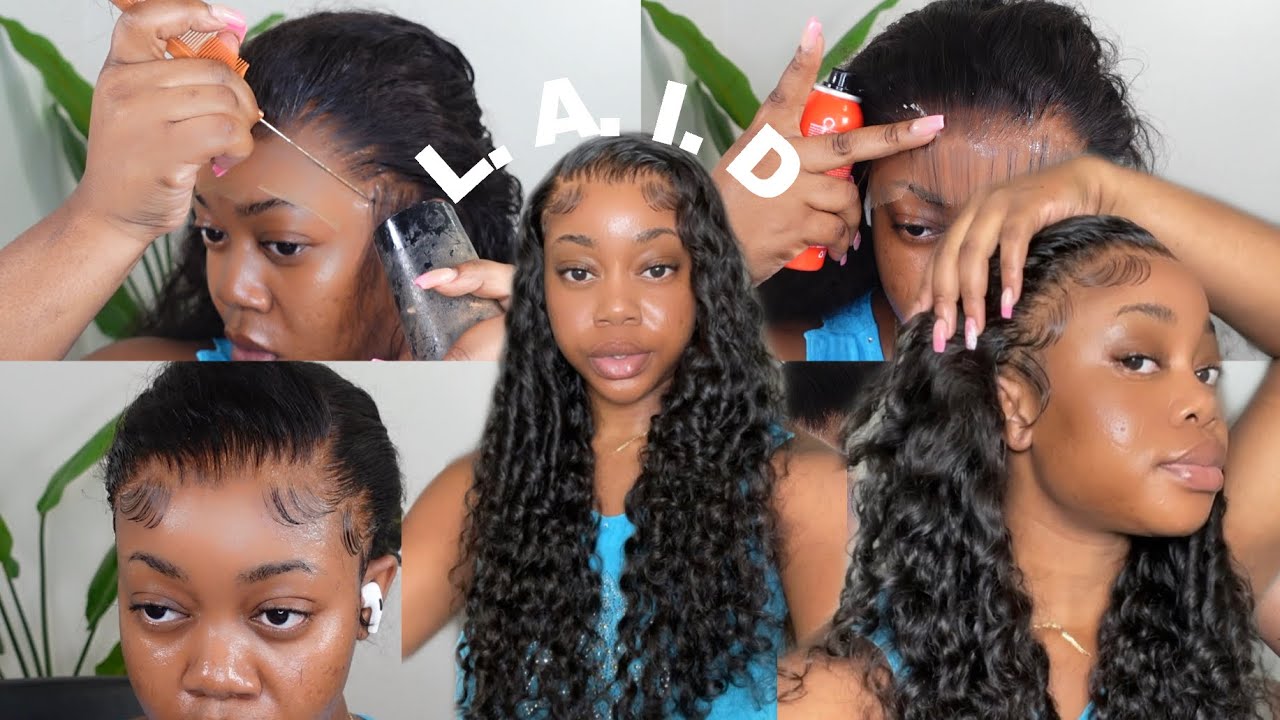
Hey beautiful people welcome back to my youtube channel. I miss you guys so much so, let's get into this video, my client is going to be doing a middle part, quick weave, so i'm going to section out where her leave out will be, which will be in the middle. I section out a little portion of her natural hair. As you guys can see. My client is facing a lot of hair loss around her edges, so we did a consultation prior to this hairstyle. I went ahead and braid um like a medium sized braid going down and i'm going to connect the uh following braids um, just to give her less tension. So, as you guys can see, i am not pulling her edges. I'M not going to do that. I'M going to slow down this clip a little bit, i'm going to braid and connect the previous braid to the braid that i'm braiding, so that everything can be like super flat for the half of the portion of this hairstyle, i'm going to repeat the same braiding Method to the other portion of her head moving along towards the back, i'm going to be braiding the anchor braid. So it's going to be two braids right, i'm going to braid the first half of the braid, where her nape area is - and i understand that her the nape area is very short. Her hair is short uh around that area. So i'm going to basically take my time and braid her hair as neatly as possible, as i can okay and i'm also going to connect the bottom braid to the top braid. So the anchor braid is very important because it holds the cap from sliding up doing the hairstyle. So now that we're done with the anchor braid, i'm going to connect the anchor braid to the braids, the on the sides, so they can be flat as possible and for the middle portion of the hairstyle. I'M going to be going downwards, connecting the previous brace to the braid that i'm braiding, so all of the braids look flat and there is no humps bumps lumps none of that you're trying to avoid any bumpy hairstyle. You don't want that in your quick weave. You want everything to be flat now for the access here that is sticking out. I'M going to sew it with my needle and a thread to get that hair out of the way cut. The thread tie the knot and then cut the access thread using a extra stocking cap along with wrapping strips and the hair. The finale, the actual product that i'm going to be using is this here, the purple pack. Okay, i went in with her solution. This was um recommended by her doctor, i'm going to be using the wrapping strips. I use four pieces of the wrapping strip. This is a way to protect her natural hair. With a quick weave, you don't really want a lot of glue on your natural hair because it will add to hair loss and i'm trying to prevent that from happening. So i use the neck strips wrapping straight. Wrapping strips aka wrapping strips and her stocking cap to protect her natural hair, guys moving right along i'm going to cut any axis wrapping strip that is falling on her face, as well as make sure that the wrapping strips align with the cap. So anything that is in the way i'm gon na cut it off. I'M looking towards to see if any of the wrapping strip is showing her braids. If it is i'm going to tuck it in make sure everything is aligned together and i'm feeling the braid to see if i need to pull back the wrap the cap and cut a little bit of the axis of the wrapping strip, i want everything to be Seamless and just very nice, okay, so i'm just feeling the wrapping strip uh cutting more. If i need to and then i'm going to sew the anchor braid remember, i was telling you guys before in the beginning of this video. The anchor of it is very important because it makes sure that the cap doesn't slip um off, so i'm going to sew the anchor braid so that it the cap, doesn't um slip off or you know just move around and it's going to keep it in place. That'S what i'm trying to do, i'm trying to sew the anchor brace the perimeter braids so that the cap stays in place now we're getting into the fun part. So this part here, i'm going to measure uh the track from ear to ear right. So this is going to help me measure where i need to cut and where i need to place the track. Once i cut it, i'm going to glue the um track with the bottom glue and i'm going to place it from ear to ear and i'm going to give a little tension around the track area. And then i'm going to be following that up with the got to be glued free spray, so it's going to make it have a little extra hold um doing this hairstyle. So i'm going to be repeating that same method throughout the whole entire hairstyle, following up with the gut to be glued for more security. Here, i am going to be tracing out where the leave out will be, as you guys can see. I am putting the bonding glue around the perimeter of her leave up, but it's not going to touch her um natural hair. Remember i use the neck strips, so the glue is actually on that paper. It is not on her natural hair um. It'S just a way for me to be able to cut the cap after i'm done with the hairstyle, so yeah remember, guys, you're going to measure cut and then glue the track. That is all that i'm gon na do from the bottom of the hairstyle to all the way to the top. It'S very easy. This is the part that is really easy, and it's very quick honestly, so here i'm going to be curving the track to give her a little bit of of length around the perimeter of her hair uh of her hairline. Remember this. This glue is not touching her edges, it's specifically on the cap and also what's underneath the cap is the neck strip, so there is no glue touching her hairline. There is no glue touching her leave out. I'M going to curve those tracks to give her more length on the sides. I ended up putting the got to be glue all over the cap to help secure the weft and also to make the weft dry faster to make the glue dry faster on the cap. I must inform you guys that this is beauty. Supply store, hair, okay, this is pot care, but it's looking like good brazilian cambodian malaysian kind of hair. Okay. I am going to turn my client around, because this part is very important. I'M going to take my time to cut the cap and the neck strips, so you guys are going to see that there is no glue on her scalp. There is no glue on the leave out. Everything is literally on that paper that i'm cutting right now. This is how a protective style is supposed to be how it's supposed to look like i'm going to bend her head down, so you guys can see. There is literally no glue no glue. I want to cut the access cap, be very careful around her edges and, and i'm just going to do the damn thing because listen, this is some flawless flawless, quick weave. I am going to continue to curve the tracks until i cover all of the cap underneath on the top of her head on one side, there was still a little bit of cap showing so i'm going to go in with one more track to cover that up Again, this last track here is going to be strictly on the cap. It is not touching her scalp. It is not touching her leave out i'm going to place that last uh track on the cap. So after i'm done with that one last track, i'm going to cut any um neck strips that are sticking out and keeping in mind to not cut her edges. I'M going to not cut her edges, i'm going to skip that and then we're done. It looks so so good like oh look at that. Scalp. Look at that part glue, free, okay, all right, so i'm going to be going in and styling her leave out now. So i put some waxing um product on her natural hair, and then i followed up with the kendra's boutique hot comb and did a few passes and i'm going to be going in with the babyliss pro nano titanium flat iron. I must say that the wax stick really helped with her natural hair taming it down and making it super flat. If you are a 4c girl trying to do this, hairstyle make sure you have some type of product that will be able to tame down your natural hair so that i will be able to blend easy with the weave i'm going to go back in and just Press down to her natural hair flat iron it and there we have it very sleek, shiny gorgeous beautiful middle part. Look at that. Can i get a clap you guys. Can i get a clap, because this this tutorial took a long time, but the outcome is beautiful. Very beautiful, thank you all for sticking through this whole entire video. Don'T forget guys to like comment and subscribe to this channel. See you all in my next tutorial. Bye loves you


Comments
callicomfort: Clear instructions, technique AND affordable! Keep going girl. Best one I’ve seen in awhile!
Maya May: This install is so neat and professional definitely a 10/10!! #lovedthevideo
shangrala woodard: Yes this is a very natural look. That’s for the tutorial
Sage Montie: that braid downnn! it looks so natural, i love it!
A J: Girl you did that!!! Subscribed. Gonna try this tomorrow.
Solome White: Great work! It came out beautiful ❤
Ry’s Lifestyle: It’s giving naturallll
Shay Na'Bre: This was very beautiful!!!
Alicia Williams: I really like this method because using weave bonding gel is messy to me. I am trying your method today. I'm excited thanks for your video.. very detailed and encouraging ❤️
Faith Planet: yessss this tutorial was everything!
MsSexyDiva4Lyfe: OMGG it looks sooo good!!
Jade Smith: It looks like a silk press you did that
Grace Appiah: I’m looking like a bag of money. You did a good job ❤️.
Jenelle White: Her hair is so pretty Great Job
Brittany K G Williams: You deserve way more subscribers!
Jenelle White: Love it
SEXXY N LOYAL: Yassss you did that
Noel Toliver: Definitely look like her real hair!! Yas hunni!!!
Lina: Perfection!!!!!
jennav: AWESOME!!!!
NicNacAttack: Can I get a clap?Lovely blend! I remember before there were wax sticks I had some Dax lying around...did the trick and no heat damage!
Teana: About how long does this style last is this good hair ?
User Harv34: Ih my god perfect!!
Samantha Alyssa TV: Great job love
Breonia: The fact that you braided her hair with it being stretched is unheard of these days. Stylists want you to have washed / shampoo’s and stretched out all ready.
Rachea Knowles: Awesome work , which lengths did you use ?
Caribbean Goddess: Hair looks bomb ...What kind of hair did you used?
Quanye White: This is so beautiful. At which point did you mention the hair type, I keep missing it.
MsSexyDiva4Lyfe: Not me thinkig that I could do this, just by watching this video.
Amyia_ Marie:
Nesh Nesh Nesha: video saved!
Veronika:
GG: Girl you can get a clap, it’s really nice
Ann Jones:
sharise williams: hey girl, good job on this quick weave. what kind of hair?
Adr111an: When you sew in the tracks would you put the longer ones at the bottom or the top
Cocoa Rene TV:
That Girl: What wax did you use?
MissMcD: indeed 13:58
Cynthia X: Yaasssss, beautiful!
Brittney Pemu: Where are you located? Beautiful work!
Alexus Rachelle:
Jesse Petters: What's the name of color of the nail polish you're wearing, great job on her hair by the way
Luvvxluvv: Love this so much! What hair did you use?
K H: How long was the bundles ?
Parler: What edges?
leslie louis: how many packs you use ma?
M: My leave out Never blends like thst
Sherronda: Love your work where are you located
Ulysses A: Where can I get these gel and what’s the exact name
Ozempic4baby: Beautiful! How many packs??
ladyyflame: Bomb
Cece Scott: Omg what kind of hair is that. It looks like her hair
Martha Guvheya: How many bundles did you use?