Beginner Friendly Diy Micro Links Hair Install | Kinky Straight | Ft Niawigs
- Posted on 20 July, 2022
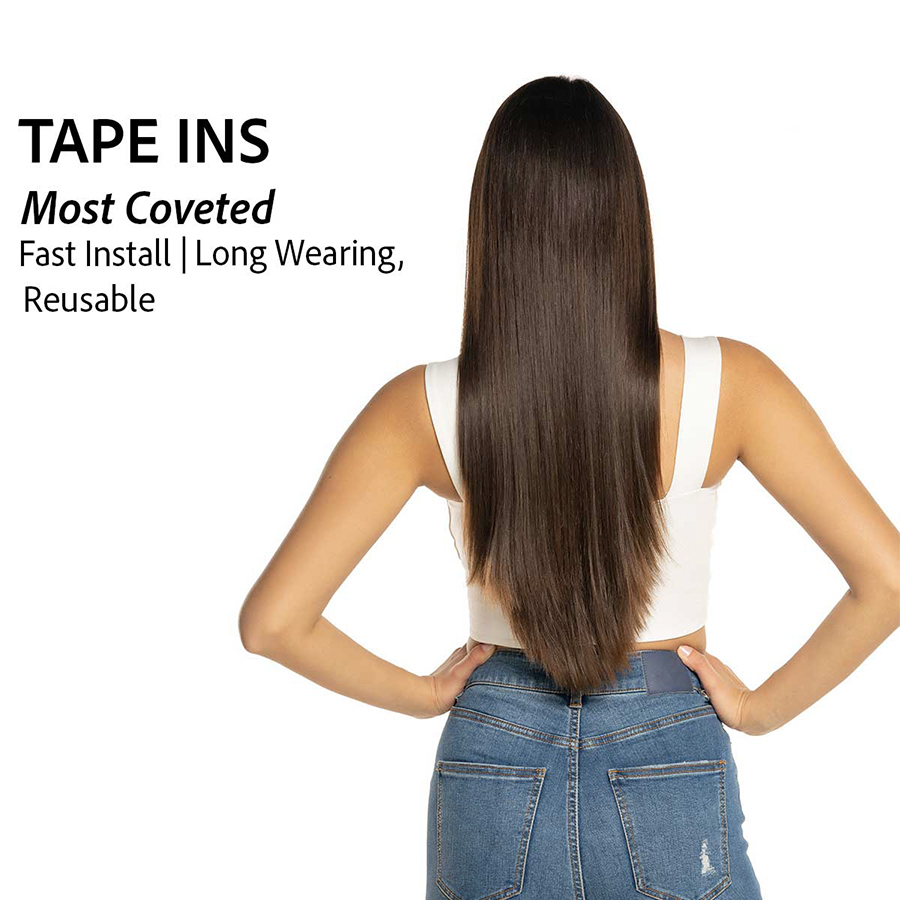
- Tape-In Hair Extensions
- By Anonymous
HEY GUYS!!❤️
I hope you guys enjoy this video , please comment, like, share and please don’t forget to subscribe if you haven’t!!
SHOP YOUR HAIR HERE
▶Coupon Code : Anitta15 get 15% off
Link to same hair in video: https://cutt.ly/ZL1IUEi
Length: 22inches
Niawigs official website: https://www.niawigs.com/
Niawigs Amazon link : https://cutt.ly/IL1PrOh
Timeline to Save Your Time:
01:43 Niawigs Unboxing Process
03:50 Tools required for installation
05:20 How to partition hair before install
06:40 Start to intall microlinks hair extensions
11:30 Finished install, Care to style
06:40 Finally look
OTHER PRODUCTS --------
Tape In Hair Extensions: https://cutt.ly/xL1I2gB
Micro Loop Hair Extensions: https://cutt.ly/CL1I848
I Tip Hair Extensions: https://cutt.ly/QL1I5yL
Bluk Hair Braiding: https://cutt.ly/KL1Oqw2
CONNECT WITH US
❤️Instagram: niawigs
❤️YouTube: https://www.youtube.com/c/NiaWigs
❤️TikTok: niawigs
If you have any questions or would just like to say hi,
email us at: [email protected]
CONNECT W. ME
Instagram link
https://www.instagram.com/anitta_nxusa...
Twitter link
https://mobile.twitter.com/anitta_nxus...
For collaborations
Email: [email protected]
#hairreview #roadto10k #southafricanyoutuber
Hey guys and welcome, welcome welcome back to my channel i'm back again with another video and, as you can see from the title, i am doing a hair installation, but not just any hair installation. You guys i'm actually doing micro legs at home by myself, it's crazy. It'S wild, don't know why i'm doing that. Actually, it is crazy because i've never done this before, but i am going to show you guys and we're going to go through it step by step and we're going to go from this to this before we get into this video. I do have to shout out our sponsor for this video, and that is mia. Wigs is the beauty that we'll be installing today, i'm obviously going to unbox it with you guys and show you guys the hair and we're gon na go through this step by step. This is my natural hair. Have you guys seen my natural hair like this? I don't think so, but i'm gon na go from this and i'm gon na switch it up and get micro link hair extensions from near wigs. Obviously, i will include all the information that you guys need in terms of shopping in the description below, and i will, of course have a discount code for you guys somewhere in the screen, because honey once we get this together and you guys see me rocking this. Kinky 22 inch, hair, you're gon na need to purchase okay, you're gon na need to buy this so without wasting any time. Let'S get right into this video, please make sure that you are thank you for watching much for sponsoring this video and, of course, sending me these beautiful 22 inch, kinky curly, hair extensions. I want to show you guys everything that came in the goodie box. Of course i want to unbox with you guys and we're going to do the hair installation step by step, because we're sort of doing like a as you guys see i'm shooting at night. So i'm doing like a date night get ready with me type of situation. I'Ve already done my makeup, so let's get this hair together. Okay, i am unboxing and there are the beautiful hair extensions. You get the step-by-step, how to wash pamphlets. So you can know how to wash your hands your hair extensions, sorry and then they were nice enough to give me these um hair accessories. I think these are like hip flips and we are actually going to need these we're going to need these. Okay, usually the extensions don't come with the beads and the loops, but because it is near here and they're trying to make it easier for us so that we're going to be able to do it at home. They included the loops and the leaves were already attached to the hair, so it makes a lot easier for you to install on your own at home any time of the day. Just like me, okay, so we're gon na be installing the hair i'm gon na. Take the hair out of the package, of course, whoops. Okay, i just want to show you guys the quality. As you can see, it is a 22 inch. This will literally match the texture of my natural hair and blend in so well. I'M so excited guys. This is 22 inches of hair. I'M going to take you guys, step by step and we're going to do this together. Okay, once again shout out to leah hair and let's get right into this, install tools that you are going to need, and i do believe these are quite crucial. Um for any diy micro links, installation, okay, you're gon na need a hair band um. You might not necessarily need a hairband if you can, because you can't just um braid your hair, just to secure it and section it and then you're going to need a red tail comb you're going to need the sensation, of course uh, because you're gon na do It like section by section by section and then you're gon na need also this is optional um because, like i said you could just tie the hair or braid the hair. If you want to section it, but you could also use these um clips to separate the hairs and then lastly, which is probably most crucial. Okay, i wouldn't say most crucial. I wouldn't really know but you're gon na need hair pliers, and this is gon na. Be the tool that locks in the extensions with your natural hair? Okay, so those are the things that you really need and because these extensions do come with the loops, you don't really need to have that crochet needle. So this is part of the convenience, so my mirror is exactly here and you guys are here: okay, i'm gon na try my best to glance at you guys a bit, but i really need. I really do need to see what i'm doing on the mirror. Okay, so we might do like a time lapse, but i will do a voiceover if you guys need me too, all right. Okay enjoy okay, so we're gon na start off by sectioning the middle part, because i knew that i would want to style it this way. I definitely wanted to do a middle part. If you are someone who wants to have their hair slicked back half the time or most of the time. You can leave this part, but i would suggest that you have a middle part as an option and then i do pretty much the same throughout the rest of my frontal, because when i do finish the installation, i want the extensions to have a perfect blend. Basically, with the rest of my hair, so i do this on one side and of course i do the other and the back as well. I would say that the back isn't really crucial unless you are someone who wants to tie it up 360 style. But it's really not necessary. Oh so each pack came with four bundles inside, which is really a lot now, let's start the installation. So what you do here is basically take a strand of hair slide your natural hair into the loop and pull the bead until it slips off. That is basically all that you need to do. Okay, it is that simple. It is that quick, and then you lock it in with pliers. So yeah you just do this repeatedly. You take a strand of hair, you slide it into the loop and you pull the bead until it slips off and you lock it in with pliers. It is that simple, and i really really really was surprised at how easy it was, and you just keep doing it and the more that you're doing it becomes a lot easier and it flows a lot better. So yeah guys it is that simple, i'm not almost done, i'm not almost done, but um. You guys can see that we are getting somewhere. One thing i can advise just like, like in terms of installation and how you um you do it yourself, obviously at home. I would say: try to not make the the loops the hair is easier to go through the loops when they're small, i'm trying to say this in a way that makes sense like if you pick out a small section of hair like just a little bit. You know just a little bit yeah just a little bit. It'S it's easier to go through the loop. Okay, so don't try to make it thick anyway. You'Ve got a long bundle. So that's not something you should worry yourself about. So that's the one advice that i can give you. It does make the process a lot easier and a lot of flowing um. Don'T pull the the clips too close to your scalp or the like the root of your hair, because once you clip it you're going to just pull more strands off your scalp and by the time you're done it's going to be too tight, and it's going to Give you a headache so try to use some room like i did here, try to leave some room in space for your hair. Also, i didn't um straighten my hair because i just felt like the hair had a nice kink and if i leave my hair with the same kind of kink, it's going to look a lot better. So it's really up to you. If you want to straighten your hair, but i chose not to i just dried it - i just blew it out like i just blew it out with a hair dryer after washing and conditioning. So those are my tips. Those are my tips, but pretty much. I'M really excited you guys can see the hair soft and it's flowy. Oh my gosh. I love the lid. I'M really looking forward to this and it's so easy, like it's literally so easy. You can get this done in an hour or two, but by yourself mind you. I have been pausing and dancing and watching youtube. So that's just me, okay, but it really is a lot easier. So i've sectioned the third row now here at the back, as you can see, i'm just going to tie it up and continue. Oh okay, so i'm finally done with the um installation. Basically i still have quite a bundle left look. I still have quite a bundle left and this might not look like too much, but i think it's equivalent to the amount that i have on my head, which is really great because that means i can still do this hairdo again. So you really get a value for what you need. Um, i think now, what i'm going to do is just um straighten the hair. Have it slicked down. Of course it is kinky, but i just wanted to blend really well, but i really love the fact that i can leave it like this and enjoy it this way when it's all you know frisky and kinky, but i really want to slick it down and let's See the difference, let's see you know how far we can take this here and enjoy it. I did leave um like a 360 type of situation. Let'S straighten the hair and slick it down and we'll see the final look. Okay, guys - and this is the final product to the finished product - the hair looks absolutely amazing. It looks like it's exactly coming out of my scalp. It fits so perfectly well with the texture of my natural hair. I just did a bit of baby hairs. You know just to shush it up and, as you can see, i have straightened it and tried to slick it down, but i actually do love the volume that it's given me and, like i said i didn't even have to use all the bundles that i got, But this is quite sufficient and i cannot wait to enjoy this look and to you know, judge it up, tie it up style it. I cannot wait, i'm absolutely in love with this. I just want you guys to see the full length like this is 22 inches, but it is so so long so bouncy. So look at that. I absolutely love. Love love. This hair once again shout out to nia wigs for sending me these um hair extensions and definitely check out my description box for all the information that you guys are going to need to make your purchase because everybody needs to start rocking. This look no more wigs! No more stress about gluing and stuff, like that, i would say this is a perfect protective style, because you can save your hairline. You can really rock your hair. It feels absolutely amazing. It feels so comfortable to the scalp, and i just know i'm going to sleep. So well, it doesn't even feel heavy you guys, like it literally, doesn't feel heavy at all, but anyway, that is it for this tutorial. Please ask me any questions if you guys have any, let me know what you guys might find difficult and i will respond to the comment down below and, of course, do shop. There is a discount code for you guys and you do not want to miss it, but for now people need to see me with this hair tomorrow morning, i'm taking myself out for breakfast because it's giving kenya more kenya more haircare anyway guys. Thank you. So much for watching, i will see you in my next video, don't forget to like comment and subscribe. I love you guys so much bye,

Comments
Nwabisa Abongile Ngoqo: I have said this before and I will say it again, I love this hair on you omw!!
Londiwe Sibanda: Love this hun sooo gorgeous❤️❤️❤️
Lerato Ximbi: Btw you look great. This hair suits you so much
keysha nicky: Gorgeous as always, I'm loving that accent
Ncebakazi Mabenge:
Lerato Ximbi: Hey babe, there's no link for the hair on the description box? Wanted to check out pricing
Mikhanyie.G Mikhanyie.G: enjoyed this pleae plug me with your hair straightner please
Peter Simmons: Alles sehr schön. Aber zuerst zusammen die Nummern 10 und 1. Eine emprutt.ONLINE Brünette und eine anderej Blondine. Es wäre unfair, wenn ich 4 wählen würde
Dee Exotica: Hi I'm first ☺️..
Summer Grace: Psalms 99:1-5(KJV) The LORD reigneth; let the people tremble: he sitteth between the cherubims; let the earth be moved. The LORD is great in Zion; and he is high above all the people. Let them praise thy great and terrible name; for it is holy. The king's strength also loveth judgment; thou dost establish equity, thou executest judgment and righteousness in Jacob. Exalt ye the LORD our God, and worship at his footstool; for he is holy.