Full Tape-In Hair Extensions Tutorial - Installation, Station Prep & Tips By Stacy From Hairlocs
- Posted on 13 July, 2021
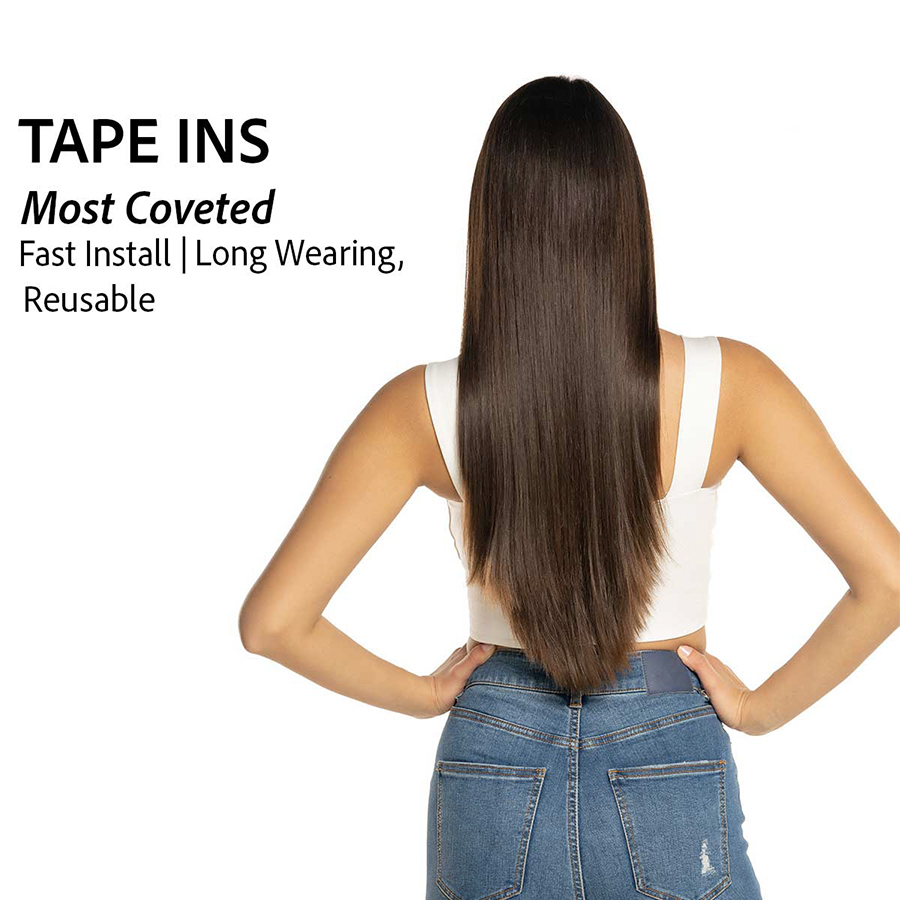
- Tape-In Hair Extensions
- By Anonymous
The tape extensions are very quick and easy to apply while laying extremely flat to the scalp. No extra tools are required to install this system besides a sectioning comb making it a quick and easy installation. A full head application for these tape-in extensions is about 30 minutes and the hair will last over 6 months with maintenance every 1-2 months.
Join Hairlocs for free: https://bit.ly/3ylXVmH
See more videos: https://bit.ly/3qOpHpt
Hey guys stacey with hair locks, i'm here with my beautiful model elliott today and we are going to be showing you a full installation of tape in extensions prior to coming in. We did a consultation. We talked about tape. Ins would be the best method for her and we also chose a few different colors that will give her a nice seamless blend. Let'S get into our tray set up for all the necessary tools. You'Ll need for this method. As you can see, i have my tray previously set up so i'll go over. What we have that we'll be using. I'Ve got my sectioning clips for her hair, my hair locks, velcro separators, and these will keep out any crosshairs or baby hairs to keep our sections and rows very nice and clean our hairlock scissors. Our razor for trimming after rat tail comb for sectioning our hairlock solvent and also we have our tape in extensions now. What i like to do before i start the install is: go ahead and untap the tapes trying not to touch that adhesive at all with your fingertips, and i like to place a little corner on my tray. That way. As i'm transitioning row to row, i can smoothly grab those sandwiches and apply them to the install. As you can see, i went ahead and got elliott all sectioned. We'Ve got our horizontal sectioning right at the nape of her neck, but she has a little bit of a finer hair with some baby hairs and i'm going to go ahead and use my velcro strip right at the top of that section, and this will keep out Any cross hairs from our install. You want to keep your lines, nice and clean all the way through your install, so i'm going to apply this velcro strip pressing up and that will help us eliminate any crosshairs from her install. So what i'm going to do is start our install of tape ends this horizontal sectioning right at her nape will be where we start you're going to want to keep in mind your perimeters around the hairline, so, throughout your install, make sure you're keeping about an inch Or guideline of two fingers around all hairlines the nape and the crown so using my rat tail comb, i'm going to take a very thin slice of hair. You want to make sure that you take out enough of that section that when you apply the tab, the corners will adhere together. So i want to keep this section, not elevated at all, i'm going to go in with my first tape. You can pre-measure, on top before you place it, underneath to make sure that you're going to have a little space for those corners. I'M going to take a little bit out of this section. So now those corners should adhere just fine keeping in mind your two finger perimeter, so i'm gon na go in with my bottom sandwich. I'M gon na lay this natural, nice and flat over the tape. You don't want to place your fingers on that tape because of the natural oils so use your rat tail comb, making sure there's no little crosshairs getting in. You will take your top tape and place that directly on top. That makes your sandwich you'll use your thumbs adhere those two tapes together to make a sandwich, and that is your first tape. Okay, now i'm moving on to my second sandwich, so i'm going to leave a little bit of natural in between both of those tapes. So i'm going to take my small sectioning, take a very thin slice, i'm going to make sure i'm not getting too close over here and keeping my perimeter, but also i want those corners to adhere together. So i'm going to pre-measure make sure my section is small enough. This will be the bottom piece, so i'm going to lay this nice and flat over this tape, making sure everything is nice and straight down, i'm going to use your rat tail. Comb adhere that to the tape, then i'm going to take my top tape, making sure those corners match up using my thumbs to press down and that's our first row. Okay, guys, as you can see, these two tapes are still horizontally in the section, but one is just slightly a little bit higher than the other. The reason it's like that is because you have to take in mind your client's tilt of her head and also your positioning when you're putting those tapes in so even though they are still flush. We will continue on throughout our install, but you'll want to make sure that your client's head is always tilted in the same direction because of the scalpel elasticity and then also your positioning behind your client. You'Ll want to be directly behind. I'M going to go ahead and move on to row number two: okay, as i'm starting to section for row number two: i'm noticing that there might not be enough space in this row for three tapes. So what i'm going to do is use my scissors and customize. One of the tapes cutting it in half there will be no shedding because of the way the wefts are already set up. So i can sandwich this as her centerpiece being custom with one on each side. That'S a full tape. So starting the second row. I still want to keep the same sectioning, but i'm going to start in the middle with the customized tape taking a small section, and it is a bricklay pattern. So i'm going to start right in the middle and we'll have one and two on each side. I'M going to take my top tape, making sure that the corners adhere together and now you'll see that nice bricklay pattern of the first row with the middle of the second row, starting right in between where that natural was left out. I'M finishing up her fourth row, but i wanted to just let you know to make sure you're always mindful row by row of your perimeters. So i'm going to make sure i'm still keeping about a two finger width away from all hairlines. This row will be able to fit about one size, full sandwich tape and then another custom mini. So i'm going to go ahead and install those we'll finish up her last row, we'll trim and style and be back with her final look. Okay, guys, i finished up elliott's look. We did a full head of tape in extensions. We used a blend of three different of the lightest blondes for hair locks. She likes her tone a little bit cooler so since she can't shampoo for 48 hours due to the tape in installation, her first shampoo she'll do a color rinse with a purple shampoo and it'll get her ends nice and a cooler tone from that rinse. I'M going to go ahead and turn her around and show you her final look. This is a tape in installation and i'm stacy with hair locks.


Comments
Jamie Johnson: Looks beautiful
Calledbytheone: Nice Job Stacy
Jessica Whitfield: How much room do u allow between each row is that 2 finger spaces too