Aveda How-To | Loose, Beachy Waves Hairstyle Tutorial With Ashley From Bestdressed
- Posted on 23 December, 2018
- Hair Knowledge
- By Anonymous
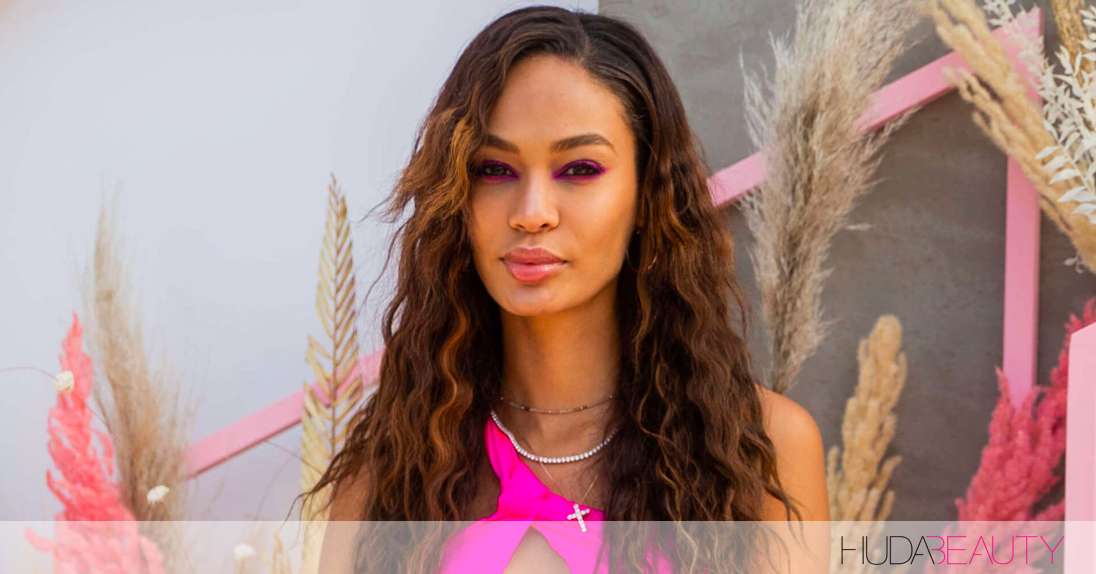
https://www.aveda.com/ Waves aren’t just for the summertime. We teamed up with Ashley from bestdressed to show you how to create lived-in, beachy waves that are casual enough to style and wear every day.
Ashley uses Aveda’s Damage Remedy Daily Hair Repair to prime her hair before she gets started on the waves. Applied to damp (not wet) hair, the Damage Remedy formula gently protects strands from heat and instantly repairs damaged hair. The leave-in product is formulated with quinoa protein and macadamia.
Once the waves are in place, Ashley spritzes her hair with Texture Tonic to create a lived-in, beachy texture. Aveda’s Texture Tonic contains cane sugar and sea salt— two ingredients that work together to create flexible hold and add shine for natural and effortless all-day wear.
Watch more videos on Ashley’s channel here: https://www.youtube.com/channel/UCnQhw...
Click the links below to shop Aveda Damage Remedy and Texture Tonic:
https://www.aveda.com/product/5303/169...
https://www.aveda.com/product/17769/51...
Hey guys., It's Ashley from `` Best Dressed.'' And today I'm going to be showing you how I got these loose, beachy waves.. So to start off this look, I have my freshly washed hair.. It'S still a little bit damp, which is going to be perfect for applying Aveda's damage remedy.. This is a great leave-in treatment that helps prepare your hair, especially if your hair has been dyed like five different times like me, and is kind of deep fried at this point.. It'S really going to help tame down all of those split ends., And it also has a built-in he protectant, which is going to be perfect for the curls that we're going to be doing in a second.. About an hour later, I just went and scrolled through a little bit too much of Reddit., And now my hair is completely dry. And we're ready to get curling.. I don't do anything too crazy, sectioning-wise.. I know I've seen tutorials with like 50 different sections. And that's just too much for me., So I'm pinning up loosely the top half of my hair. Get a little bit of man bun action to keep it all out of the way., I'm taking my 1-inch curling Iron and just taking random sections of hair. There's really not too much of a rhyme or reason to this whole method., I'm taking pieces of hair that are about yay big.. I would say that's about an inch, an inch and a half and wrapping it around the curling iron. And after I let out my curl. I always like to give it a nice little cuddle, because your curls need a little bit of love too., But also for the practical reason that your hair forms its structure while it's cooling down and not while it's heating up. So holding it. While it's cooling down. Definitely helps your curls stay in longer. To explain my super advanced method, a little bit more, I'm curling away from my face. And as I go around, I'm not laying my hair super ribbon, flat., I'm keeping my grip at the end., So it kind of twists around The barrel a little bit. And that'll help you get a much more natural beachy, looking curl, rather than those tight ribbon curls that look a little bit faker. Time to unleash the top section.. Once I get to the top section. The first part that I always curl are these little face: framing bits., Honestly, the rest of your hair can look pretty jank, but as long as your face framing bits, look good, you're good to go.. I don't hold these front sections in the curling iron too long, because I don't want them to be super duper tight curls., I kind of want them more relaxed than the rest of my hair. And then we're just going to finish up taking random sections around the Top of my head. - And you know if you mess up a curl like this one, turned out a little bit strange. We can just go back with the curling iron and kind of fix it up at the bottom. There we go. Good as new. All right.. We are all done curling. And magically. All of my limbs have emerged from this experience without any curling iron burns, which trust me doesn't happen, all the time.. You could totally stop here if you wanted more of a smooth, salon-looking curl., But today I wanted to rough them a little bit, make them look more worn in and casual and, like I didn't, just spend the past half an hour of my life curling, my hair.. The real question is: why do we have to spend so much effort making our hair look? Effortless, That's something to think about.. Next up, I'm going to spritz in some of Aveda's Texture Tonic, which will help me get a little bit more of that beachy texture., And now I'm just going to finger comb through my hair to try to get those curls a little bit more loose and beachy.. That is the finished look.. This is pretty much what I wear whenever I'm filming videos taking Instagram posts generally trying to not look like a potato. All right.. Thank you guys so much for watching.. I really hope you enjoyed., If you love Aveda products as much as I do, make sure to click that Subscribe button to stay up to date on all of Aveda's beauty, tips, tricks and products.

Comments
Ana Bensig: Who came from ashley's channel?
Franchesca Louise: Omg so helpful. I've been actually thinking about trying Aveda and now that ashley is sponsored by them, im trying it. Lol im easily persuaded
Camila Collao: I'm in here just for Ashley ♥
iluvpigs25: We love Ashley. Get it.
Madison: I've been a fan of Ashley/Bestdressed for so long and just randomly came across this video on the Aveda website. I can definitely say this helped me decide to try Aveda products since I trust her judgement and advice.
Ritchy Rebel: I'm gonna try this just for Ashley.
Maria An Alberto: I'm here for Ashley!! ♀️❤️
Marilyn: I love Ashley, I had no idea she was affiliated with Aveda!!
Cat Padilla-Schoop: Love Ashley!!!
Marvelous Jammer: Frickin love her
Harshini Prabhu: Queen!!
Carole Etienne: love u!
johanna cannella: QueenSIS
Chloe Allen: Defo fav yt of all time
Cristina K: Yeah!!!