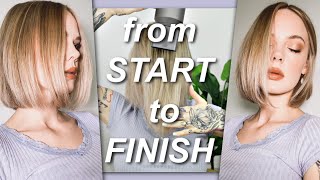
Quick Haircut: Shaggy Medium Length Bob Haircut Disconnected
- Posted on 15 June, 2021
- Bob Hairstyles
- By Anonymous
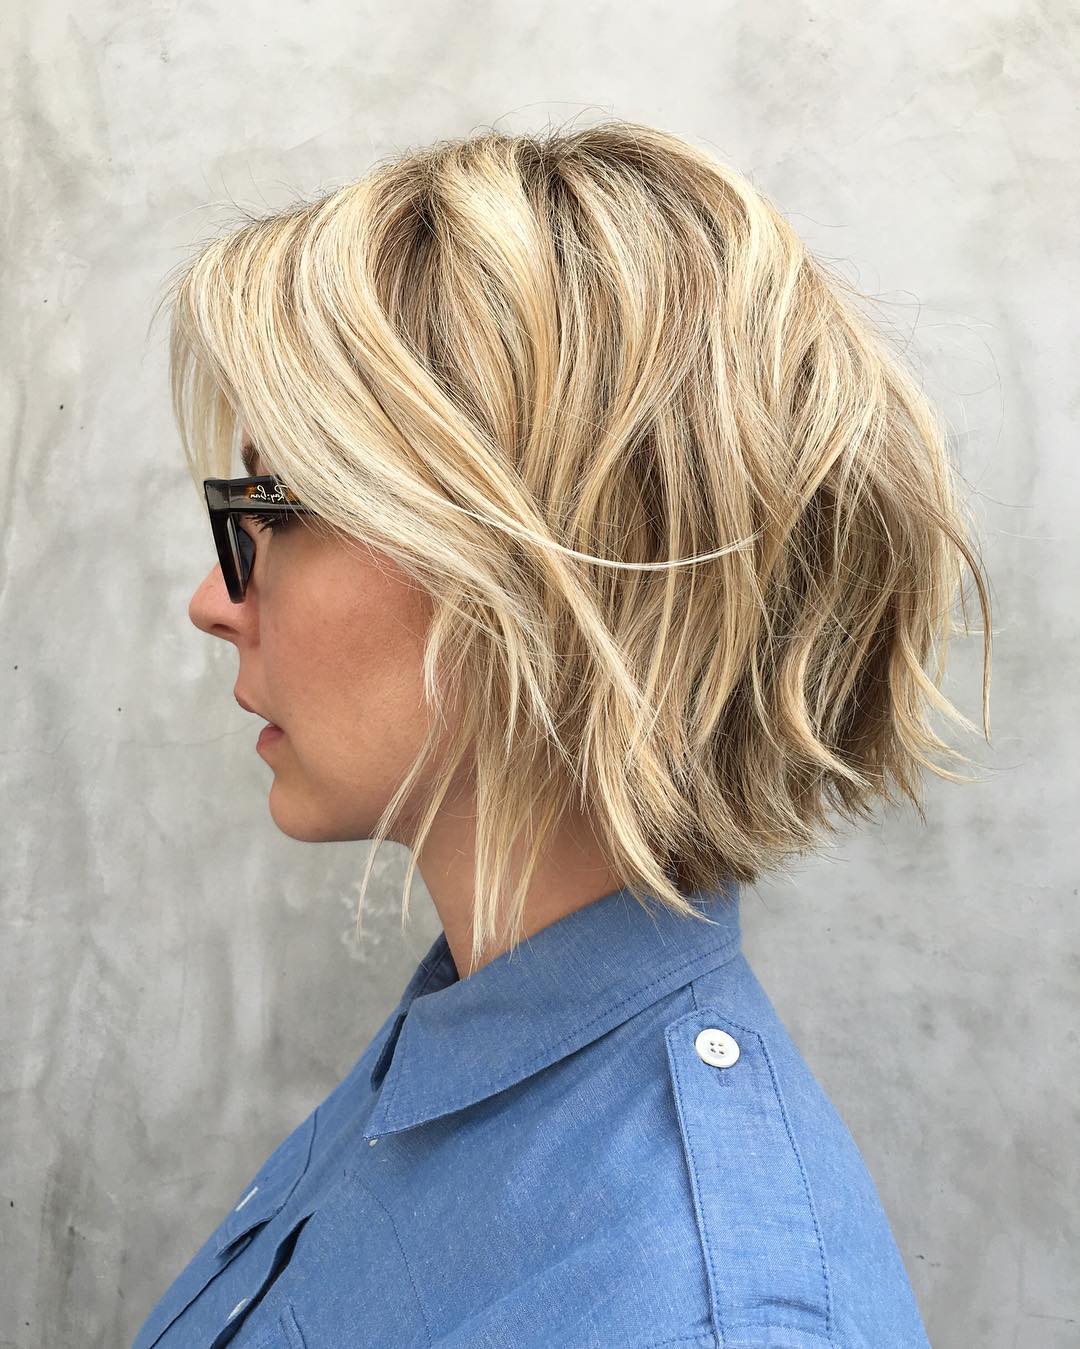
Shaggy Bob Haircut tutorial. How to cut Bangs. The mid-length shag bob haircut is a modern shag with layers, texture, and bangs. The extra amount of layers will help add density to a curly shag for medium cut hair.
"I Love Haircut - I Love Hairstylist"
Gon na do a haircut so um really we're just like looking in the back at what dolls we have and then like. What can we show with these dolls? So we've got this doll that has kind of this random like heavier fringe on it and then essentially everywhere else. It'S like you know, there's not there's no like layer to it. It'S all like long, so i want to show you guys, with one section, like one panel, how to take this kind of a bob. You know if you've got some bangs on there, you could even add the bangs or not and turn it into something. A lot. Shaggier that i've seen referred to as an overcut like you've heard of as you've heard of an undercut, but we're going to do an overcut mmm interesting. So i like that idea. Really all that means we're not going to cut anything on the inside and we're just going to cut um the surface layers. I guess that does make sense, so we're going to use this fringe as a guide like what we have here already and then we're gon na take these sort of just diagonal backs like that and comb what you don't want out of the way we're gon na. Do a scissor you could do with a razor too if you wanted and when we pick it up we're gon na pick up only hair from like the parietal up so you're you're leaving this out. You could section it out if you want and like you know, clip this away, but you don't have to like. If you feel confident just working through it, then you can just do it that way: overcut yeah, the overcut people like it. So it's funny we're going to bring this forward not too low, like you need to bring it like out. If you bring it low, it's heavy, bring it up higher. It'S softer right, so we'll bring this up. I'M standing like to the side of it. My left foot forward right, foot back and then we're literally we're literally gon na come here and i'm gon na turn like that. So you see how i've taken this and i've turned my body like that, and then we can see the guide like there's the fringe. In there already and then we're going to cut so it's longer on the end and getting shorter up through the top like that, so you can. You can use blunt cuts if it's the right angle to make something. That'S soft! So again, a diagonal back section we're going to bring this forward, but we're only going to work from the parietal up, so i'm literally just going to take this out and leave it. So we leave that out. That'S the overcut, the overcut, for you oh pick that up comb. It straight forward a little bit high elevation and then turn like that. There'S your guide on the inside there and then we're gon na just using our finger as like a platform for the scissors blade. We'Re gon na rest, the scissor and then we're literally just gon na open and close our scissor, like that cool cool, coolest and you're just going to go back from there all the way to like the crown. So again, like that - and let's say i want more layers like you - could bring it all to the same place and be stationary and get a really sort of steep increase in length like it'll get long fast. You want more layers in the back. We can like look down a little bit still just picking up hair from the same place, so it's like we're gon na leave all of that out from the bottom, but we're gon na keep lifting up, so that will increase your elevation, some so that you will Get more layers just kind of connect that in turn it and connect that in i want to cut that corner a little bit, so it doesn't um. You know, give me something too heavy. You could stand in the back like you want to stand in the back. You'Re, that kind of guy or gal or you can stand in the back and push it forward if you want. It feels a little strange to me because i was staying in the front, but you could stand in the back and just go short to long. This way, that's totally fine, too, you know, and then i'm just literally gon na do this until the very center back of the head. Take that out. So it's like by the time you grab the front like look at the section that it gives you it's just a horseshoe, horseshoe section is all it makes and you can like. I said you can pre-cut that or um i'll pre-cut pre-section that, but i kind of just like to work as i go. You can add in hair as you go, you can take hair out and we're just going to connect this in when i'm working with a scissor. I try to work with just my thumb right, so we're just working with our thumb. We just rest that one blade right on there just like that and then, and that way you can make a nice straight line. You know, because your your hand is the platform guide, then we can check like what does this give us? So we get this really like steep short long vibe there. If we had a more stationary guide, it might even be even steeper because we lift it up. We get, you know more layering, all the way through now to the other side over cut the overcut, the overton window, guy all right. So again, we have our fringe. Take this back coming out of the way we're only going to take the top layer like right. There this time, i'm gon na literally stand over here and turn my fingers this way. Looking for my guides and then cutting off like that, you could do it like that or you could. You know really kind of crank your hand like this. You can still like work it that way either. One of those ways is fine, really just depends on what you prefer still going diagonal back one more time, convex layers. No, i would say a convex layer is something that follows the shape of the head like that. Right so it would have to be round a convex is round. Concave would be short to long. This is sort of inversion, maybe where we get longer through the back. It'S like you know, reverse a line layer, but a convex layer would be like if i was lifting it up and working my way around the head, which gives you a lot of fullness, a lot of roundness. You know this is going to give you a lot of softness and uh like less layering through here. What, if they don't have a fringe? How would you decide where to start the guide, uh? Really, wherever you want that shortest layer to be, you would do the same thing so notice that, like when i take this section - and i go like this - and i create this angle right like so we cut, we cut that in when i bring it down. It gives us this short to long line, so i mean you would just do that with your first section. You would just take the fringe out, come cut your line and then you know you'd have it there so use it to start one section earlier, but it there is no right and wrong for where you want. To put it, i mean we could start it down here, or we can start up here the shorter this gets the more disconnected it's going to look like you're, going to have a lot of shagginess with like longer stuff. Your overcut would be totally separate than the rest of it. So if you want it to be more like salon friendly, you leave it longer. You want it to be a little more rock and roll a little more creative and you could um take it a lot shorter. Also. Are these cones why it's park uh yeah? This is why it's park home we're actually gon na come out with our own combs. You guys fancy combs yeah, you just wait for them to they'll, be here soon, they'll be like something for everybody, because not everybody likes to use a comb like this. You know like ben, for instance, he does not like to use a wise park home. He likes to use like a sam via carbon cone right like a like a big carbon cone. You have to be sandvia, it's just a little bit bigger, so we're gon na have a cutting cone kind of like this, but maybe minus the the holes and maybe a little more simple. You know us, we want it all. I need to be like fancy, which means not fancy and then uh we're gon na have a barber comb like a flat barbering comb, here's prototype of it. You know, or put it right here, yeah look at that mask ew, sweet barbering, comb situation going on there. Yeah then we'll have. This is chris's barbarous, escape yeah and then we'll have the carbon comb. So you have something for everybody, something for every type of haircut. Oh, you are brilliant. How about that? Oh wow. I have a new to agree. No, i'm just kidding what adjustments would you make for curls um, not many. You know i might put in more space right like if this is like something curly and i was doing it so solid. Sometimes you want more negative space for curls to move around, so i might come in and like take out some corners here. You know to really let it breathe and open up a little bit, but you could do the same exact sectioning, yeah, anticipate it will shrink a little more, but just having layers in somebody's hair is going to bring out like their weight a little bit more too. But you'll see this is a straight doll like the hair is pretty straight, but once we get this layer in this overcut layer and again you can see it starts to just make a horseshoe that i've been it up over. The top see that it's essentially a stationary guide, maybe we lift a little bit and then we just connect to what's underneath there, and we can check it again to see if we've got something similar going on which looks like we do. We'Ve got a nice sort of increase in length where we get a lot longer, but it still gives some layer through the back. So, just by doing that, we take that more one length look and we give ourselves this like shaggy bob look, but it gives you like a lot of fullness through the bottom is a bit heavy, and then you get all this movement and everything from the top. Where do you get your dollars from? I think i just got this one on amazon right. I'M pretty sure that, like a six-year-old put it together with bare hands for like a long time in like a horrible situation, i don't know that's true. Would you use less tension on curly hair, so it doesn't spring back on you, i mean so it does it doing yeah i mean i i would say you would want to be concerned with like how much it's going to shrink. But if i was honestly, if i was working at curly, i would either do with a razor most likely or i would do it freehand. You know i would literally just like work with the curl. If i was being really really realistic about what i would actually do, i think that's a great idea. Yeah so and people say that, oh, you can't use a razor on curly hair. They teach that in school a lot like you can't use a razor on curly hair, and i say that's dumb: you can too, you can use a razor on curly hair, it's totally fine, we do it all the time and you can totally make a mess with It like you, can you can ruin somebody's hair with the scissors. You can ruin someone's hair with a razor or clipper. It doesn't matter, you know it all is about you and your level of training and like what you're able to do. I bet if i gave ben a scissor a clipper and a razor, and i was like do this exact same haircut. Even this was like a clipper and he could figure it out. It'S like it's all about sectioning elevation like the angles, you're cutting and then it's just going to change the edge like the edge is a little bit different or your dexterity has to be a little different. But you know all the looks are essentially the same. You know the process is the same, there's a person that keeps requesting to come on should we bring them on. I don't know, what's going on here now that we've got this layer and we're just going to lift this and let it scrunch up and collapse in. We give it a little squeezy poo and then look at that. All of a sudden. We'Ve got a wavy, oh look at that guy and then we do the same thing over here: lift up little squeeze and then it's wavy and that's just from adding those layers. It allows for that to happen, and that's kind of a fun moment. You can have with your clients, where you like, lift and scrunch their hair and if they're not used to being able to just like scrunch and go, and you give them something that makes it so they can then they're gon na freak out in a good way. If you're, bethany, t65 and you're just joining this is the overcut. This is the uh the aircraft. Exactly i heard that phrase watching on on tran. You know oncotran, he uh said an overcut. His is a little tighter and he lifted it all up. So his it was almost the opposite right. It was like we brought it all forward and cut it here. He lifted it all up and like cut down into it there. But it's the same. Look: it's the i a different like process to get there yeah. The idea was that the it was a one length with the fringe and we just wanted to turn into like a shag section with only one section: there's only one sectioning. So if you just tuned in it is a horseshoe through the top that is all brought and cut in one place short to long like that disconnected from the sides. So you get this heavier perimeter like your length all stays the same. Then you get the shaggy internal. Look very nice. If you guys want more full-length education, you can go to the link in my bio and go to fancyhairdressers.com for only ten dollars a month. We'Ve got new step by steps on there all the time, for instance, later today tonight there will be a new color added, it's um how to do backcombs and do blonde on a short shaggy look something with a lot of layers which can be difficult to do Blonde and backgrounds and highlights, without it, looking like sort of chunky and old school, because there's so many layers so i'll show you guys how to do that. They do a full change from like color like this to a beautiful blonde, like rooted back home.


Comments
•_•: Great tutorial! Love the haircut
Anna Ortiz: Thank you very much ❤️
Sara Salem: ❤️❤️❤️❤️❤️❤️