How To Half Up Half Down Quick Weave With Extended Ponytail | No Hair Left Out | Danielle Denese
- Posted on 12 May, 2021
- Ponytail Hairstyles
- By Anonymous
Welcome Back to my Channel !!!!
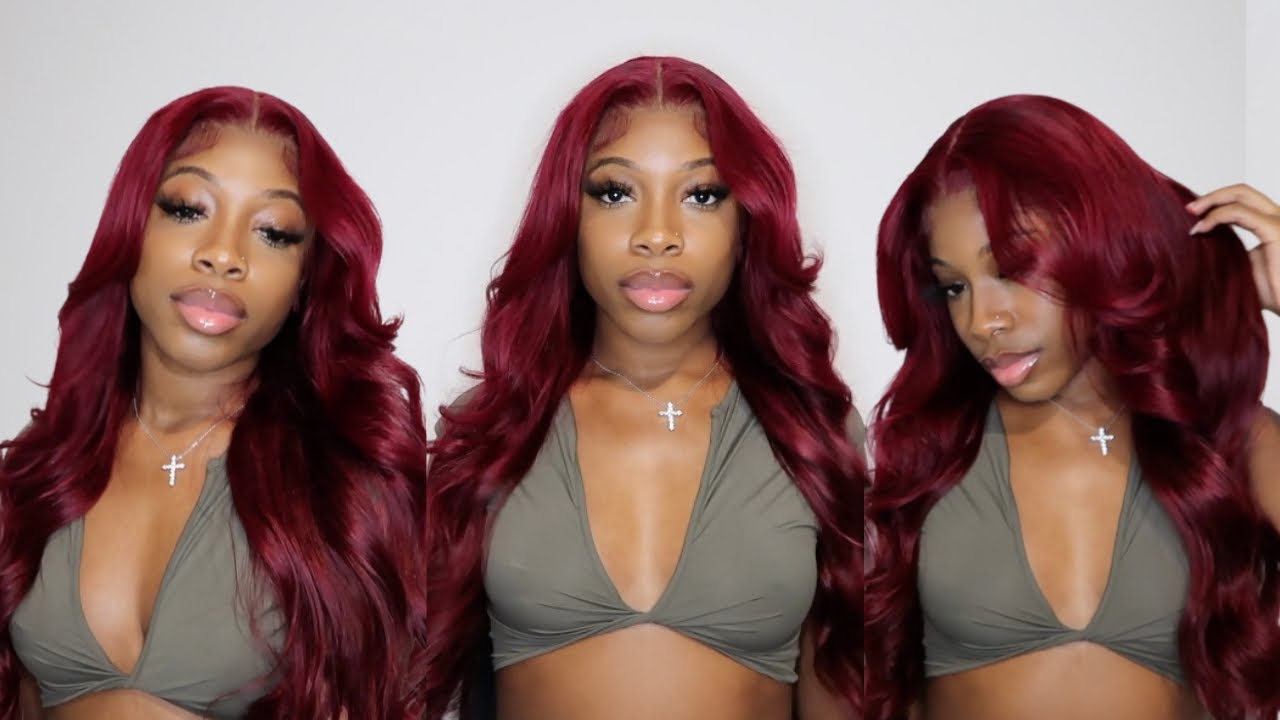
In this video I will be showing how to do a half up half down quick weave with a genie/extended type of ponytail. This is a very good protective hairstyle, for I did not leave any of my own hair out.
Products Used:
Rat Tail Comb
Needle
Thread
Wrap Strips
2 Stocking Caps
Got 2 B Spray
Hair Glue
3 bundles of water wave bundles from Cranberry Hair (2 24inch and one 22 inch)
Brush
2 Ponytail Holders
Bobby Pins
Rubber band
Got 2 B styling Gel
Edge Brush
Eco Styler Gel with Olive Oil
Spray Bottle with water
#quickweave
Wednesdays are 'D Day!'
New Videos uploaded EVERY Wednesday at 6:00pm EST
Instagram: @Moore.is.betterr
https://www.instagram.com/moore.is.bet...
Hey beauties welcome back to my channel so in this video, i'm going to show you how i got that up: half up half down hairstyle that you've seen in the beginning part! So here's step one we're just sectioning the hair up into our half a pack down style, um you'll, see i'm making a part from ear to ear, sectioning off my hair and i'm just showing you a more thorough look of that side to side or ear to Ear part that i just did okay and then once we have that air-to-air part out the way we're just going to start off making our anchor braid the anchor braid is what we're going to use to actually hold all of our back section or our down part For the up down hairstyle, so as you see, i just made a part right along that ear to ear part and i'm going to start off with the anchor braid i'm going to braid along that line yeah. So i'm just braiding along that part. Just starting off the beginning part of my anchor braid okay, so the anchor braid is basically a braid. That'S going to go along the whole perimeter of our back section of our hair is going to be what we use to sew down our cap to make sure that our hair is secure, and you know for our quick weave. So, as you see, i just took that part a little bit further down again. I'M gon na just keep braiding along the perimeter here. You'Re gon na see me start stopping and then just adding more of a part to be able to have a braid. That goes around the whole perimeter of our back section, the section that we're going to use for our down portion all right and, of course my parts aren't really neat, i'm doing this on my own head. So it is very hard to part the back of your hair, but your parts don't have to be crisp or anything as you'll see, it still gets the job done as long as you just have that main anchor braid everything will work out. Well, okay! So as you've seen here, my anchor braid is pretty much completed, but you see it ends up. So now i'm going to take that braid and just braid it down i've parted another section so that braid ends downward and that's what i'm doing here all right and then to complete this section, i'm just going to keep parting down and as you see here, i Braided everything down and once i've had all of the hair braided downward. I just create one large braid at the end. You see i just all connected it, so i so our back section is pretty much finished. We braided everything down now we're just going to take our thread and needle and we're going to braid that last braid up and out the way. Okay and then now we're about to get into our the remaining part of our foundation. We'Re going to take these wrap strips and protect our hair for our quick weave with the quick weave. You will be gluing down your track, so i'm just taking those wrap strips making sure my own hair is secure. I look a little bit of crazy, but we don't want to get any glue in our hair and then i'm just going to go in with um i'm going to use two wig caps, but this is the first one, so we're just going in with that. First wig cap and some got to be sprayed just to make sure that we hold everything in place, and now you see me just taking a needle and thread again along that anchor braid that we created the braid around the perimeter. We'Re just going to sew the cap around there, so you're going to sew the cap around the perimeter braid around the along the anchor braid and now we're just going to cut off all excess, get all all the wrap strips all the cap and we're going to Go in with a second cap, as you see off camera i put on that second cap, just to make sure my hair is protected and secure. We'Re gon na sew down another cap along that anchor braid, leaving some space a little bit outside of it. But we're not gon na cut this cap this time, okay and now we're to go in you, get your bundles, get your glue, start measuring and we're going to glue that hair the first couple of tracks. As you see, i always make sure i go along that anchor braid, so we don't want to go like kind of at the nape of our neck. We kind of want to bring it up along that anchor braid to really make sure that the hair falls in our face and falls in the proper areas, and you also want to try to hide the track. So this method really makes sure that the tracks are hidden. My all right now we're coming near that top track and i'm showing you a trick instead of putting it that way, we're going to put the track and glue it the opposite way. So, instead of putting the track like this way right because we've been putting them on this place, we're going to glue the last track like this to try to create a seamless, invisible type of part. So that's what we're going to do put the glue on. So we put it down like that, so that when it flips it's like, so it seems like that, basically all right, so so we're gon na go in and cut off that excess cap. Remember we left a little bit outside of our parting outside of our anchor braid, to make sure that we really get a good, seamless, quick weave. So there is some cap sticking out we're just going to cut that cap that excess cap left over in the front area or cut the cap off now you can put one more track, the same way that i had it because there's a gap right here, so We'Re trying to get it as seamless as possible, just cut it, put the glue on it and again, we've only like this see it's like an invisible type of part. So that way you can leave nutty hair out. Okay. Now we have to work on this part. Alright, so i'm gon na get this hair out the way really quickly. Okay, so i changed the view since now we're working to the front of my hand, so i'm just going to take a comb really quickly and comb through it um. I blew it out and everything pressed it out already. I'M gon na take two of these and we're gon na start to create a ponytail just leave my edges out because we're gon na deal with those later i'm gon na just use some eco styler gel. Very a little bit very little. Okay take a brush, so i'm gon na just what i normally do is i do like a a fake ponytail meaning this is not the final product, but i just do this just to get the hairs. How i want it and then i'm going to do my edges so with the edges i just go in with got to be or you can use your ego use whatever products you want. This works good for me. So this is what i do. Let me just kind of create our baby hairs. Now, mushrooms get a little bit more, get a little bit more and we're gon na do the other side. Now. What we do here is go back back then i back it out one last time and now this is like really the permanent version now so now we're gon na get ready to do our genie ponytail. So i'm gon na just comb through this and i'm gon na braid it as tight as i can and then i'm going to secure the end with a rubber band just loop. It like this and we're going to just put the rubber band at the end of that all right. So then, you want to just start getting your bobby pins and your next bundle. Now, what you're gon na do is you're gon na start at the very end and get our bobby pins ready and you're gon na just poke it into the braid. Now i know some people sew it. Some people do the whole wrap thing and glue it um. I like pinning it because when i need to touch up my ponytail, it's easier to do so, because you're, not more so gon na, really need to touch up the back. The vacuum will last you a couple of weeks. The front you might want to touch it up, take it out, tighten it up. So, that's why i prefer this method in there i stick the bobby pin going up and through the let's see, if i could explain it so we're gon na stick the first one through that rubber band going up all right, so it's pretty secure. Then we begin to wrap and as you wrap around you're, going to pin it when necessary, but try to wrap it as tight as possible. Okay and that's how you get your genie ponies in okay. So i think i'm gon na put a bobby pin right here and you're just gon na stick them in along your braid that you created going up going down. Stick that in okay - and i want my point to go to the side, which is why, where it's in this way, so if you wanted to go straight to the back of your head, then you would do it so like that. So i think i'm putting another bobby pin in it's coming together, just keep wrapping till you get to the end. Now we're getting to the top. I just cut this we're gon na. Take this and wrap it around. Actually, i'm gon na get a little bit thicker piece and we're just going to wrap it around the whole entire base. Take it back out right now with this being curly hair. I think what i'm gon na do is i'm gon na just oh, really quick. We can take some of that. It'S got to be secure around here. Just take a little bit of water, just curling here, just get the curls a little bit better needs to be wet all right and we pretty much have a beauty. This is it. This is the final look. If you want to wear it more to the side, you could do so. If you wanted to wear to the back, you could do so. If you wanted something to the other side, you can do so. I think i want to just wet this a little bit more just to get those curls pop and pop and pop it. They look like they came straight out of a bundle all right. This is it hope you enjoyed this video. Ladies until next time don't forget to like comment and subscribe bye, you

Comments
The Rich Aunt: Loveeee it
Just Jas: Finessed!
Deidre Watkins: It's your real hair for me
Life with Cassidy smith: Hi