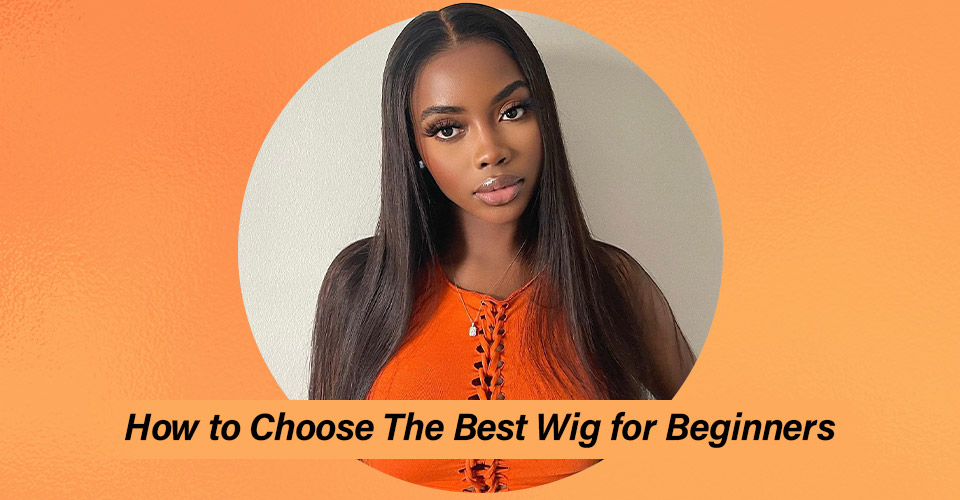
Most Realistic Beginner Friendly Glueless Lace Front Wig | No Baby Hair! Yaki Straight
- Posted on 06 May, 2022
- Ponytail Hairstyles
- By Anonymous
Shop the same #LaceFrontwig:
https://www.myfirstwig.com/alexis-mala...
√ Real HD Swiss Lace - Skin Melt Invisible
√ 100% Human Hair - Soft & Smooth
√ Pre-plucked, Pre-bleached - Beginner Friendly
√ 13x6 AVAILABLE
--- ALEXIS - Malaysian Human Hair Straight Lace Front Wig - LFW016
Hair Length - 20 Inch
Hair Texture - Yaki
Hairline - Ultimate Melted Hairline
------
Shop more LaceFrontwig: https://www.myfirstwig.com/malaysian-v...
* Protective Styles & Pre-Customized Lace Wig For Wig Beginners *
Website Link: https://www.myfirstwig.com
Instagram: https://www.instagram.com/myfirstwig_c...
Facebook: https://www.facebook.com/myfirstwig
Jhc: what's up dolls, it's your girl, asia and i'm back with another hair review. As you can see, this is another collab with one of my favorite vendors, my first wig, and these are some of the goodies that will come in the bag once you receive the unit, they also sell the little baby hair brush so be sure to pick it Up if you're interested and, of course, we're gon na focus on the wig in this video um, as you can see, there is a very deep apart in space of six inches um. There are two combs in the front one in the back, as well as this adjustable elastic band. My first wig has also added an additional elastic band for those who are not familiar with sewing one on for themselves. This is a full lace wig. Therefore, i can part this hair all the way down to the back. If i want, i can also wear it up in a ponytail. If i choose to do so now, this wig is perfect for beginners because it does come pre-plugged, i'm going to show you what the hairline looks like straight out the box and, as you can see, you do not need to pluck the hairline any further um. However, you guys know me, i just can't put on a wig without plucking it. I just doesn't feel right. So this is the difference after i plucked it. As you can see, i did not pluck it too much just a little bit more to my liking and now i'm going to just change this middle part to a side part i'm going for a more natural look with this install. So, instead of laying a lot of baby hairs, what i like to do is just cut little pieces of hair along the front of the hairline that will naturally lay kind of like how your natural hair lays, and i like, as you guys know, i like to Apply this mousse: this is my favorite mousse i like to apply it to the hair and it just helps me to be able to shape the hair so that it lays how i want - and i prefer to do this before i install it. It'S just a lot easier to do this on the mannequin head now, as you can see, this here has a lot of bounds. Now, i'm going to remove the adjustable elastic band that they have installed simply because this wig fits me perfect um. I don't really need it and, quite honestly, i have yet to find a vendor that has placed the elastic band as perfect as i can place it simply because when i lay it it is custom to my head now. I want y'all to take a second and admire how natural this wig looks on my head before i even cut the lace, and this is one of the things that really sells me on my first wigs - is that their lace is this transparent, tinted, color and it Just lays so perfect with my skin and, as you can see, as i start to cut the lace and before i even glue it down or anything, it already looks flawless on my head and remember. I didn't bleach the knot or tint this lace at all. This is how this wig literally comes straight out the box guys. This is the reason why this is my third collaboration with this company, installing that wig just really makes my job easy and, as i'm, showing you this hairline, i just want y'all to get into it. Now my first wig brands themselves as the beginners wig, but honestly, this wig is for anybody who just wants to put on a wig and have an easy, install, i'm going to lay this wig down with some guts to be glued hairspray. However, if this was a normal day, i would probably just wear it, as is so as always, i'm going to go ahead and just spray some of the hairspray around the perimeter of my hairline. I always forget to not put makeup on my forehead, but i think it's best if you put your foundation on last, to prevent the hairspray from messing it up. Also, i do have a bald cap underneath this wig. However, it's not necessary, you can just wear a regular wig cap. However, of course you know that if you do do the ball cap, it does allow for a more flawless install for those who aren't familiar with how to do a ball cap. I do have a really simple tutorial, i'll, be sure to link that in the description box down below. So i'm just applying the spray to my hairline and rubbing that in with the tail of the comb and i'm just taking the scissor to cut any pieces of lace that has been left off now, it's not really much of the wig left for me to cut Around my ear, but i did cut a little piece of the lace off just to get it to fit and lay flat next to my ears, and i just went ahead and did that on both sides. One tip that i can't add is that i like to comb the hair as i'm laying it down with the hairspray. This prevents the hair from sticking to the spray underneath and now i'm just going to apply my scarf and tie it down for about 10 minutes and that's gon na, let it really set in place after 10 minutes. I took my scarf off and, as you can see, this wig is laid. It is laid. Yes, i'm loving this, so i'm going to go ahead and apply a little bit of my foundation powder to the part. Since i didn't bleach, the knots as you already can tell the knots on this unit are not very dark at all, because um, you can barely tell that it's not bleached and it's nothing that the foundation powder won't just fix up really quickly, and i just apply That to the part and right now, i'm just really feeling myself and feeling this wig. Let me give y'all a close-up. Yes, i love it. I'M loving this. This is very natural, no baby hairs, just a natural install if you're loving this install go ahead and show your girl some love and also will be links for everything used in this video in the description box down below. So i decided to cut some light layers in this unit just to help frame my face a little bit so gon na turn around real quick. Just so you guys can see what the back is looking like and, as you can see, this hair does flow very nicely, so i'm gon na go ahead and address some of the common questions that i usually ask. This is what the hair looks like fresh out of the wash i've, never seen a wig look this straight, and this is what it looks like after i put a flat iron to it. As you can see, it does straighten very well. However, there are a few more fly, aways that are more noticeable after i straightened it, so i just applied some of this flyaway tamer and that laid the hair right down. I added a few curls to this unit and, as you can see, this hair does take a curl very well and the curl was still holding up a day later so dolls. I do have a code to get 10 off your purchase just type faithfully. As you check out to receive the discount, you know i'm going to need you guys to help me name this wig. Please go ahead and leave your suggestions in the comment section down below and if you're, not a part of the fam, go ahead and hit that subscribe button and join the family. If you have any questions, as always, don't hesitate to ask and as always guys until next time you guys stay blessed and if it be god's, will i'll see you in my next video take care now.


Comments
A O: Only "youtubers" receive those "goodies" let's be real for once