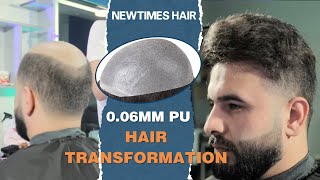
How to attach your own hair system
- Posted on 30 June, 2021
- Hot Topic
- By wigs@Blog

With the right preparation and advice, attaching your own hair system isn’t as difficult as it seems. Good attachment and successful bonding are integral to achieving that coveted natural look, so no pressure.
As leading suppliers of men’s hair systems, we are proud to provide a wide range of high-quality hairpieces and wigs.
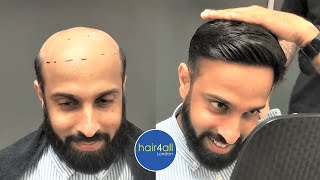
Once you’ve found the perfect colour match, received your high-end hairpiece from us, and chosen your preferred adhesive or tape, where do you begin with attachment?
Let us talk you through how to attach your own hair system using silicone or acrylic adhesive, water-based adhesive, and tape.
Attaching with a silicone adhesive
Once you’ve prepared your scalp and marked out your bonding area, brush your silicone or acrylic adhesive to the edge of the area thinly.
Use both vertical and horizontal strokes to ensure even coverage, and allow to dry for at least five minutes or for the recommended drying time.
Repeat the process to apply a second coat. This time wait a little longer, approximately 10-15 minutes or until your adhesive has become clear and sticky.
For thin skin systems, you’ll need a coat of adhesive on the front edge of your hair system too. Be sure to let it dry thoroughly before attaching. Lace hair systems do not need this.
Next, attach your system by positioning it over your bonding area. Once it’s perfectly aligned, press it onto your scalp using the flat edge of a comb. Repeat this motion all the way around the edge.
Attaching with a water-based adhesive
Water-based adhesives are particularly popular amongst hair system and wig wearers. We’ll let Walker Tape explain why:
“Clients love them for their gentleness on sensitive skin and low odour… They’re easier to apply than other options thanks to their non-stringiness.
Their colour transition from white to clear makes it, well, clear when the adhesive’s ready for the hair system. Their water-based nature makes them easy to clean up as well.”
Attaching a hair system using a water-based adhesive is a little different. As with a silicone adhesive, apply thinly, and evenly using vertical and horizontal strokes around the scalp to the edge of your marked bonding area. You’ll need two coats left to dry for 3 to 5 minutes in between.
Once the water-based adhesive has dried and become clear, you’re ready to attach your system.
As before, position, press gently and apply further pressure using the flat edge of a comb to adhere.
Attaching with tape
Tape is another great adhesive option, especially if you’re removing your hair system more frequently.
Start the attachment process by removing one side of the tape and applying it around the edge of your marked bonding area.
Once you’re ready to attach your system, remove the other side of the tape, and line up the front edge of your hair replacement system with the front of your bonding area. Roll the hair system backwards to cover your scalp and press firmly to secure it.
Whatever your chosen adhesive, keeping your hair system dry and sweat-free for at least 24 hours after attachment. This is recommended to ensure a super-strong bond. We dont recommend using tape on thin skin systems as it sometimes can tear the base on removal of the system.
Before you use the guide above to attach your hair system, be sure to read our top tips for preparing your scalp for your hair system.