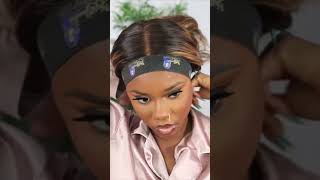
Ep. # 5. | I Killed This Red Color Trending Skunk Patch Color Wig Tutorial...
- Posted on 17 March, 2022
- Color Lace Wig
- By Anonymous
SOCIALS :
IG : @Therealjadab_ instagram.com/therealjadab_
Business/hair : @shop_thebeautyprint instagram.com/shop_thebeautyprint
CREDITS
TikTok Inspo : badgalrissa__
Instrumentals used :
Broadway Girls by Lil Durk & Morgan Wallen
Peru Remix by Fireboy DML & Ed Sheeren
Hate Our Love by Queen Naija & 21 Savage
PRODUCT
Color used: Adore Jet Black (2) , Adore Black Velvet (1) , Adore Crimson (1)
Lightener : Matrix Light Master https://www.saloncentric.com/SCMX-Ligh...
Developer- Matrix Cream Developer https://www.saloncentric.com/SCMX-Deve...
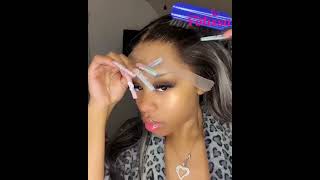
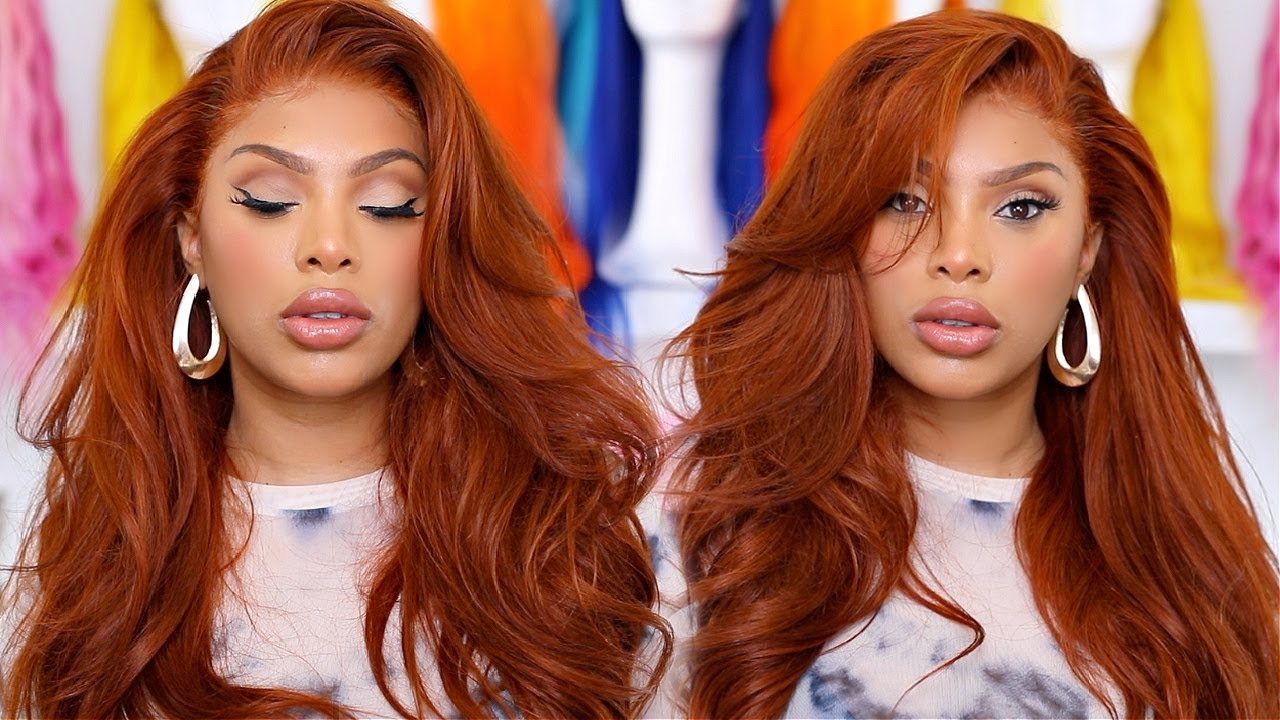
Hey guys welcome to the real jdb tv episode number five. This is going to be a wig tutorial on this skunk patch. Look right here, we're going to start off with this body wave of frontal wig that i got from my client. As you can see, this hair is beautiful, full luscious, the lace is busting um. I don't want to say this is hd, i want to say it's transparent, i'm not really sure it's not one for my line, but it's good as you can see it's full in the back. Look at the frontal um, the hairline is definitely full of natural enough room to pluck away which i'm gon na do a little bit in here, but i'm not gon na. Do a plucking tutorial for the skunk patch uh. This is crimson red by the company adore. You can find this in your local hair store prices range between 399 and 5.99. I'Ve seen it on amazon for like 8.99, but whatever and right here. This is the color black jet black. You do see a black velvet in the middle. I just had a left over, but the client wants the hair to be dark black with the red and the wig right now is currently like a brown. So what i'm going to do, i'm going to spray the lace with got to be spray um? It protects the lace from getting color on it. I'M going to be doing the water method um to color the hair black. So that's when you put all the hair color in a pot and then well not a pot in a bucket and you dip the whole wig inside until it's the right color. So i did that here, i'm just um going ahead and separating and brushing and sectioning. I'M going to show you guys the color in a second how black it was. I just want to detangle it make sure it's all dried, well, not dry, but make sure it's not knotted up or anything like that. Um, but yeah. Everybody knows the watercolor method. I did it in my last uh wig tutorial video, so if you guys want to see how to do a watercolor, i will put the a link to that video in the description below here. I am just plating the hair, because i'm going to be drying it and sectioning it so that we can lighten the hair to well the section blonde for the skunk patch um. Here i am just showing you how good the black color came out. Um, i'm going to bring it a little bit closer yeah so that black is giving black black blackie black black yeah, but um. So yeah we're just gon na go ahead and um put that back on the mannequin and section it out so that we can lighten it with the crimson red. So what i did was i sectioned the front um into one horizontal section um. I separated the front from the back um because, like i said, the color is only going to be in the front part and it's not even going to be the whole front, and i blow-dried it a little because i do not like to lighten hair wet. I'M not a fan of that, but okay um, i put a plastic bag around the uh, the hair section, the part so that i won't get developer, not developer. I'M saying developer because i'm looking at lightning developer um so that the lightener will not get on any other section of the hair and the scalp. I only want it on those sections um. If you go and see you might want to rewind back just a little bit, i'm using matrix, uh, lightener and developer, i'm not going to really give too many details on that. I'Ll put the link of that below. This is just getting straight to the color. Yes, i did mix in a w-2 container, but uh it don't matter so. Yeah get grab your favorite light inner your favorite developer brand and go ahead and lighten the sections. You can do the sections as you prefer um. Hers is kind of a big section on one part and a smaller section on the other, it's a deep part as well, so it's going to be more red on one side than it is the other side and uh just a fun fact um. If this was a human head um this i wouldn't have started putting the lightener from the top to the bottom um. We would start in the middle of the of the section in the shaft and then start from the bottom to the top and then do the top lash, because when you have heat coming from the root of the head, it will make the developer. I mean the lightener and the bleach uh move too fast and all the hair color would be a whole nother level all over the hair and it'll be too brassy um, i'm probably shredding. I'M pretty sure. I didn't explain that right, but you guys know what i mean so right now you can see that the hair got to a lighter level. Um do not quote me on what level this is um. I want to say this. Hair can get to a good six um, that's the best. I can explain it. The way levels work, it's like one through ten and ten being the lightest, i believe, yeah, ten being the lightest level and one being the darkest level. So one would be black and ten would be like platinum and right here. This is a good, probably level. Six. If you were to go to the hair store and compare this to your favorite weave, it would probably be the level or the number 27 or the number 30 and that's the color blonde. This is now so um yeah, i'm just uh detangling. It sectioning it out and uh getting ready to put that red in all right now, so we're taking that red crimson and we are starting at the root saturating. It making sure that we're getting through all of that hair making sure that we're not touching the lace. As best as we can um, if we do touch the lace as long as it's not super pressed in there too too long, it should be fine, but we're just taking the red, putting it in making sure that we're touching every section of blonde. We want that to be as red as possible. This is like coming out so good, so bright, it's actually brighter than i expected it to be because, like i said this, hair can't get too too light. It'S not a human head, it is human hair, but it's not a human head. You know it's not living here anymore, so yeah we're just putting that right in and getting it done, i'm laughing because and that last clip was mad ashley. But it's cool y'all get the point and i'm not clumsy, but it's cool um yeah. So the red has been sitting in for about, i want to say 20 minutes uh. It says 15 minutes with heat i would use. I usually do like 20 25 minutes and just let it air dry or just let it naturally air out. I'M probably did it even longer: i'm not even gon na hold you but um. I rinsed it out and here's the finished product um. Now i'm just gon na pluck the hairline just a little bit. I am not installing this unit, so i'm not gon na. Do too too much plucking, because i do not know what the stylus is gon na do as far as customizing, and i also did not bleach the knots but yeah that color is really really really really given um. That red is way brighter than i expected. I like how it's like and streaks a little bit um and there it is dried right now. I am just putting some mousse and hot comb in the side. Part uh just for styling purposes. Like i said, i'm not installing this wig. I didn't do too much. Plucking, i only did the part just so that i can have the red in the right spots um. Oh, you see that it's just so perfect like that black and that red right there on the side when you lift the the bang up like it's just perfectly patched it's not giving like beetlejuice vibes. I love that so yeah, just hot combing it getting that set. It in that's not even a word, but getting that settled and all of that. Yes, it looks so good and neat so good um. I didn't get to record myself styling this too much. So sorry guys my camera had died out, but i'm just gon na do simple. Curls um, like i always mentioned in my tutorials, my dry bar curls, my cosmos, my mai tai, and that's pretty much it. I have pictures at the end um of how the wig came out and yeah came out pretty good to me. Look at that red though, like that looks so bomb that looks so so good, i'm so happy that the way this came out you

Comments
TheRealJadaB TV: Bleaching starts @ 3:57
Jasmine Moore: This came out , I think I could pull off purple doing this ☺️
Sisi Colon: You did your thing !!!
Empress Blaque: ❤
Big Bag Monroe:
Sisi Colon: