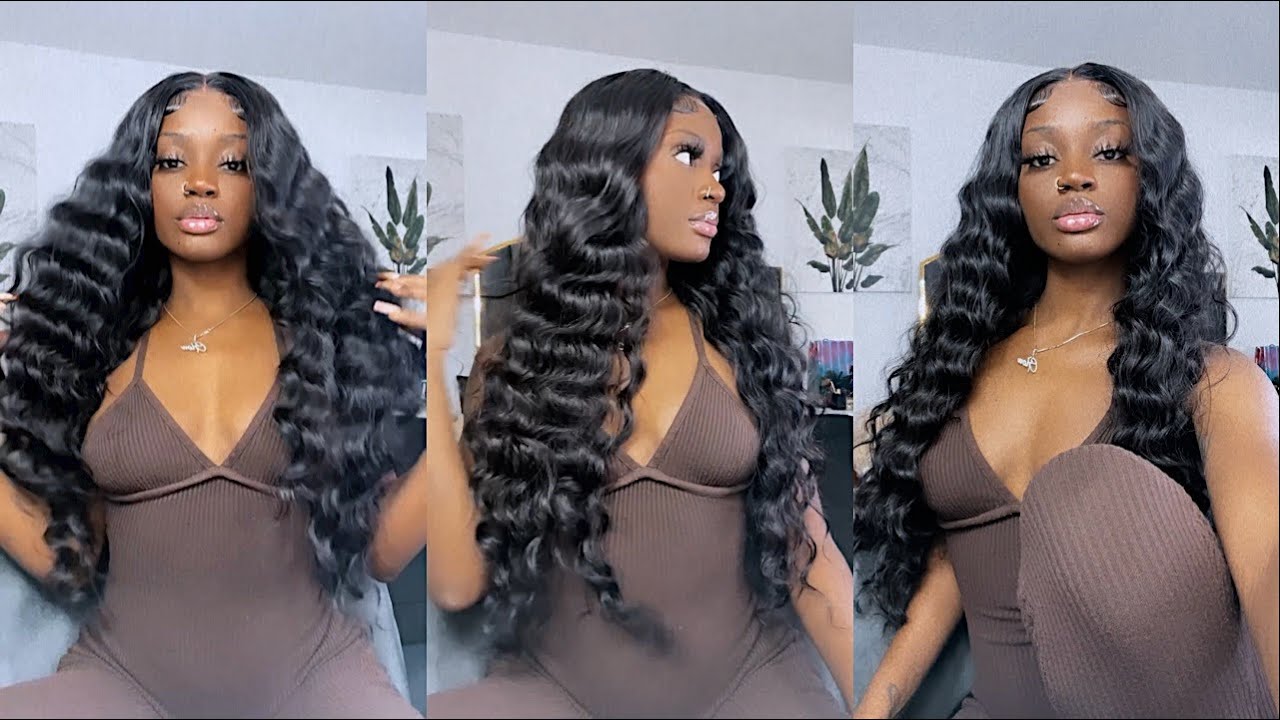
How To Make Headband Wig From Scratch | Beginner Friendly.
- Posted on 26 November, 2020
- Headband Wig
- By Anonymous
Hey Guys!
this video is about How To Make Headband Wig From Scratch!
PLEASE SUBSCRIBE TO MY CHANNEL
https://www.youtube.com/channel/UC2KgQ...
Instagram : glam_adicto (business Page)
@Bellaaa___29 https://instagram.com/bellaaa___29?igs...
Twitter: glamadicto
Face Book : Bella glamadicto
how to bleach hair :https://www.youtube.com/playlist?list=...
how to Bleach and pluck frontal
how to make a frontal wig
#headbandwig #beginnerfriendly #howtomakeheadbandwigfromscratch #diy
Hey guys welcome back to my channel so before we get down into this video, please if you haven't subscribed if you're new to this channel, please do all right guys. So, let's get down into this yeah. So today's video is about the trending headband wig and i'm going to show you guys how i make mine so guys. First thing: you're going to need is your wig cap, i'm using my mesh wig cap and i'm using this material and the weight is 4 inches and the length is 25 inches. That'S because the second frame of my head is 22. So what i did was i divided 22 into two and it gave me 11 and i also divided 11 into two, and it also gave me five and a half. So i'm going to place my tip in the middle just like what i did there and i'm going to mark out that five and a half and i'm going to pin i just use my pin anyway, you can use your marker to mark it out so you're Going to know where you're going to stop sewing your head band, so i've already sew the other side of the headband. Remember, i'm not using my soy machine, i'm using hand, i'm sewing by hand, so everything i'm going to do is going to be by hand so guys. What i'm going to do now is to fold my material, the end of the material into two and put my needle through and pull it out and put my needle through the other side and pull it out and i'll be doing this with tiny stitches. Because i don't want it to be too bold because you're going to be seeing some spades if you so you understand what i'm trying to say. This is what i'm going to do until i get to the tip and when i get there, i'm going to turn it after turning it. I'M going to fold the ends and i'm going to stitch it to the same way i stitched the other part. So i'm done stitching the both sides. As you can see, the other side, as the middle part is not sewn together. That'S because i'm going to be placing it on my wig cap and i'll be stitching it together with the wig cap, so you're going to place this band above this other band on the wig cap. I don't know what it's called, but i'm going to place it above it then i'm going to sew. As you can see, the measurement is rhyming or i don't know the word to use, but you can see that is tools where i measured five and a half, and this other side is also going to end towards where i also measured five and a half where The other pin is, as you can see guys, so i will be using my code needle for this, and i will be sewing from the middle. It'S just like sewing your frontal. If you know how to make a frontal wig, you know you're going to start from the middle to sew in the front together with the wig cap. So i'm starting from the middle and i'll be sewing it. It'S quite difficult because this material is kind of a little bit thick and i'm sewing by hand and i'm not using any sewing machine, and while you're sewing this, you have to make the knots to be very, very tight. You can see how tight i stitched it together, so we are done creating our headband wig cap. Don'T know why i keep on saying wee wee wee, i'm the only one here and it's just me, okay. So what i'm doing here is i'm just mapping out the lines i'm going to be sewing through and i'm using my index finger to make this measurement. So the next thing i'm going to do is to prep my needle and thread make a knot at the end and pull the needle through the weft and through the wig cap, and i'm going to put this in for the second time. But this time around, i'm going to take a part of the thread and wrap it around the needle for about three times, and then i pull i'm doing this because i want a very tight knot and i'll continue doing this until i get to the top of The wig cap - all i'm doing, is just to follow the lines on my wrist cap and i will sew to the top yeah, i'm done so this is it guys this is it. The next thing i'm going to do is to take a piece of weave and try to cover that other part. So it's not going to be rough, but you're not going to so it's like the normal way. You are sewing it from the back this time around you're going to place it this way and so from the front then you're going to flip it backwards. Maybe you can use your blue dryer to make it slip when you're done just flip it back. If you want to do the sewing method, but i'm not doing that, i'm going to go in with my got to be a glue spray and i'm going to use my bond and place it on the band, because i didn't really want to stitch it. I don't want to be seeing any stitching, because this is not a sewing machine, so the best method is this method, guys just use a bond and use your extra holding spray or you got to be spray and you make it very tight. So i'm going to cut out the ss wig cap, the one at the front, i'm just cutting it out because i'm not going to be needing it because there's a band there. Now, although i don't know what this is called well, i'm just using it at the end of the band to clip them together. If you know what this is called, please please please let me know in the comment section i would like to know, but i couldn't find the black one. So i got the white one, so i went ahead to add band for extra hood and this pink comb. You can add it if you want, but i did not add mine, because i don't want it. So this is the end of this video. This is how it's looking i tried it on. It was perfect all right guys, bye,


Comments
Simona Watson: Wow now I know
drMISAN's world: Velcro..... that's the name