How To Make A U-Part Wig|Beginner Friendly|Brothers Xm2701|Side Part|In Depth Tutorial
- Posted on 23 July, 2021
- U Part Wig
- By Anonymous
HELLO Hello hello everyone! You asked, I delivered. Here is an in depth tutorial on how I make my u-part wigs using my brothers sewing machine. This wig was made for one of my clients and she absolutely LOVED it!!!!!! Which method do you use to make your wigs? Needle and thread or the sewing machine? Let's chat in the comments below!!!!
Watch in HD
Enjoy and remember to support me by SUBSCRIBING to this channel and liking this video.
Business Inquiries: [email protected]
LET'S STAY CONNECTED:
INSTAGRAM: https://instagram.com/lyrical_kitty/
SNAPCHAT: youngsirette
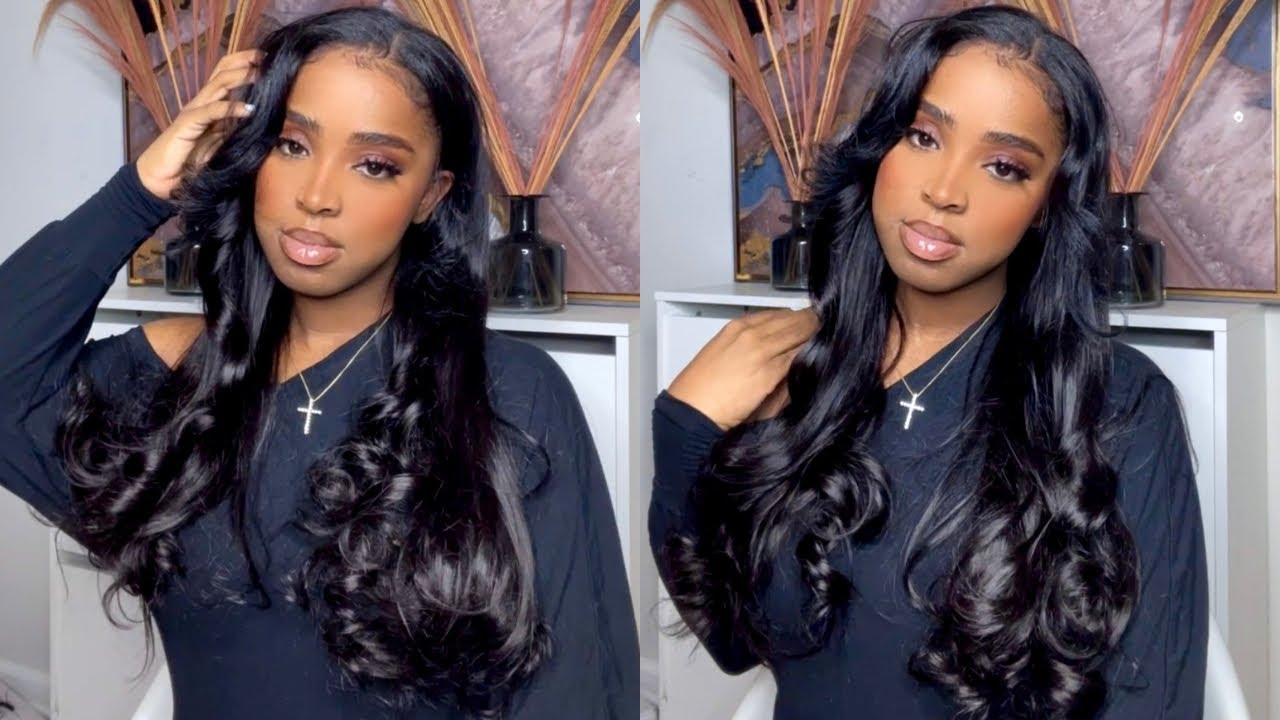
Hold up hello, hello, hello, everyone welcome back to my channel today i will be making a upart wig. Here is my canvas head and my cap that i'll be using. Is this one? I got it from amazon, so i'm going to apply the cap to my canvas block head and you want to make sure that you apply it correctly, because you are basically laying your foundation and we know the foundation is not correct. Then everything else is messed up. This is how it should look, because this is how it will look on the person's head make sure that that little v in the back is aligned with the line on the back of the canvas block head now, it is time to create your foundation so to Create the foundation i'm going to use my measuring tape and i'm going to create two lines that are about an inch and a half apart. Now it's very very important for you to have a measuring tape, especially if you're creating wigs making wigs, because you want everything to be precise and you always want your customers to be satisfied. So my parting space is going to be four inches. So i'm going to take my measuring tape and lay it on the cap and map out a line that is four inches long and then i'm going to do the same for the other side, and this part right here is going to be the. U - and this part is going to be the part that is going to be cut out, so i'm going to create the line here, do the same on the other side and then connect the two i have stated. This is where the? U part is going to be and the bang is going to be going to the right side of my customer's face. Now i'm going to move on to the back and continue to lay my foundation and create the lines where i'm going to stare to sew where i'm going to sew the wefts on. So here is my first line and then i'm going to go ahead and get my measuring tape again and i'm going to create lines that are one inch apart and i'm going to speed this up because after the first couple of times it's basically self-explanatory. So i'll speed it up and i'll be back, so it is time to sew you guys here is my sewing machine. I'M basically gon na get to work. So i created my foundation and i have my wefts ready. So now i'm just going to take my wefts sew it on the cap and cut where is needed and continue to do this throughout the whole cap. So i am going to speed it up here. I did do it in real time so that you guys can see the process and you can have a better understanding, but i am going to speed it up so that uh we can get to the next part. But here i'm going to basically just sew on the wefts onto the lines that i've already created and continue the wig making process. So so so so so so. Ah, now i'm transitioning to the needle and thread - and i like to do this when i get to the top, because i can work better and with the machine. You can't really see it that well so after a while, i do transition to needling thread back to the basics right, so here i am going to be sewing on the rest of the hair, the rest of the wefts with needle and thread. So that's what i'm showing you here and, of course, like every other section, i will be speeding this part up, but i did do this part in real time so that you can see how i did it and exactly what i did so when you're sewing with The needle and thread - and this will ensure that your wefts are secure while using your needle and thread because we don't want any thread to be running any thread to come out. And then you have an unhappy client so make sure you are going through the wefts and then through the loop that you create to create a knot, ah uh, so so so so sometimes there's no one else who loves me like you used to sometimes we're not Ourselves, there's no one i can turn to, and i know all the feelings your relationships are never meant to last, but i'll be all right. So now it is time to sew on the u-port and with this is basically the same process. You'Re going to be sewing through the wefts and through the loop to create a knot, as i showed you before. So this is why this part is sped up a little bit, but it's the same concept. You go through the west, make sure you're following the lines that you have already mapped out. You go through the left and then you go through the knot to secure the thread in place. You so here is the final result. This wig is everything i made it for a client after after i made it. I was like um. I need this for myself, so this will be a a unit. That'S going to be added to my collection. Now i'm going to cut off the cap because we all know we don't need the extra cap, i'm going to cut it off using my scissors and when you're cutting make sure you do not cut too close to the thread, because you don't want to cut off Any thread and mess up anything that you've already accomplished so just cut close enough to hide any stragglers, so you cut off the cap and after cutting off the cap, i'm going to add the combs and the combs when adding the combs the same process here is The comb that i'm using i used about uh five of them, so i had two on each side. As you can see, they were small. I had two on each side and i added one in the back. So that's five little combs in total, and that is basically it if you would like to see a continuation of how i installed it on my clients head. Please stay tuned for um, another video! Thank you so much for tuning in. Thank you for watching. Please continue to support me by liking and subscribing to my channel, and i will see you all in the next video bye guys.

Comments
Nubian and Ace TheGr8’s Fitness: I love it
Manomai Tube: hi prima