How To Melt That Lace By Stocking Cap Method Ft. Curly 360 Lace Frontal Wig
- Posted on 04 March, 2019
- Lace Frontal
- By Anonymous
*Good News!!! The technique of bleaching knots has been improved. The knots are more invisible. It looks like the hair is growing from the scalp.* check more details: https://www.rpghair.com
***********Discount Code: USA10 to save $10 Off***********
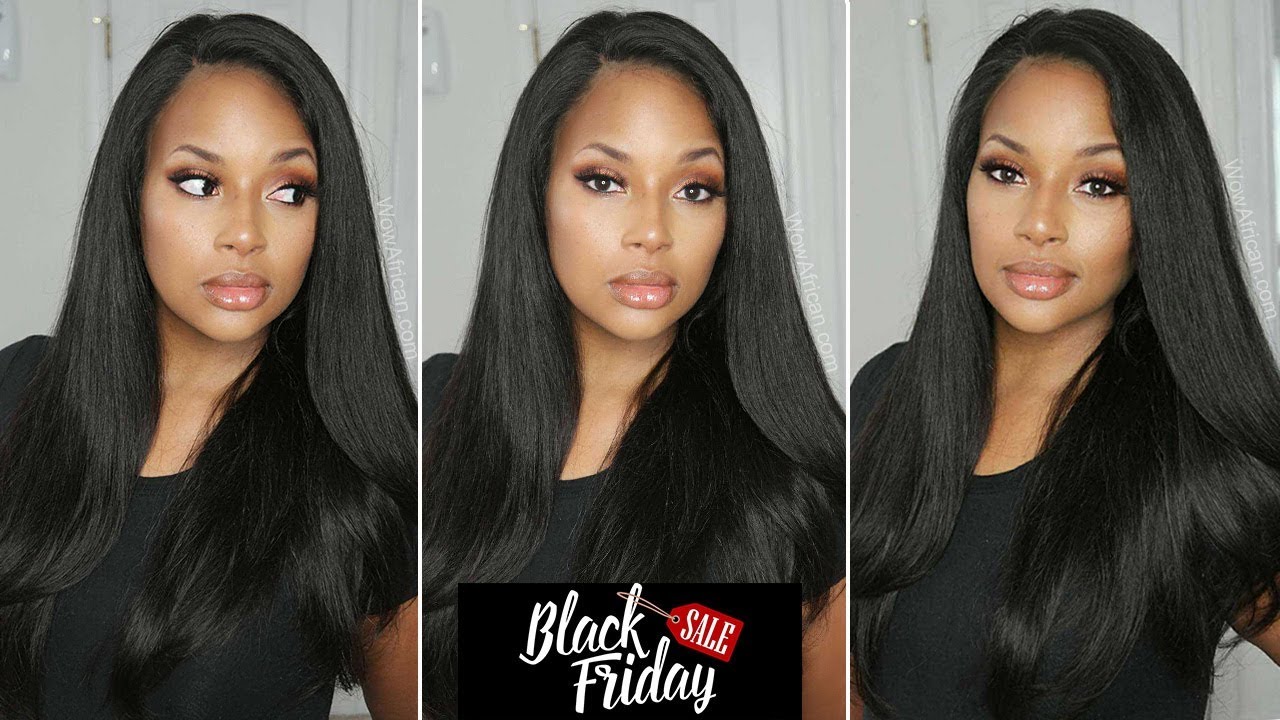
Wig in this tutorial
Pre-Plucked 360 Lace Wig Tight Curly Indian Remy Hair[LFW58]
https://www.rpghair.com/pre-plucked-36...
Hair Type: 100% Indian Remy Human Hair
Hair Length: 18 ''
Hair Color: Natural
Hair Texture: Tight Curly
Cap Construction: 360 Lace Wig Cap
Hair Density: 150%(Extra Heavy)
Cap Size: Medium
Lace Color : medium Brown
Bleached Knots: Yes
More Affordable 360 Lace Frontal Wig:
https://www.rpghair.com/360-lace-front...
Follow us On Instagram: @rpghairwig @rpghair_us
https://www.instagram.com/rpghairwig/
https://www.instagram.com/rpghair_us/
Here we are hi, guys, welcome, I'm petite, so divinity from RPG here, calm for this tutorial today. What I'm gon na be showing you guys is how to melt that lace. Yes melt as in you know, make the lace front wig, look more realistic! Morally, you know very natural looking you know slayed by the way. The message that we're gon na be using today to slay or lace is the ball cap method and, if you've never tried this before, if you've never seen this before. That'S what I'm here for you're gon na just jump on into the video right now, first of all, you're gon na need a stocking task, we're gon na need or adhesive, so for today's adhesive, I'm using my got to be freezing spray, which is this right here. I usually use forgot to be gel, but since lately I've been just leaving more to the freezing spray just because it dries down way quicker. It'S very convenient on these. The hold is extremely strong and, of course, you will definitely need your wig. No, this is not the first time I'm wearing this wig. I am in love with this wig. This is the pre plucked 360 lace, wig tight, curly, Indian remy here and it's the number lfw 5/8. First, of course I my hair, my hair is braided. This is how it's looking it's not fresh breads. I will need to get it redone soon. So what I'm gon na go ahead and do is just kind of go ahead and put the wig cap over my head, so this one I usually have ones that match in with my skin tone perfectly, but I ran out of those, but this will work out. Just fine just the same, so I pull this all the way down. Usually, what I have to do is cut out the air portion because it makes the sideburn area lives with flatter, as opposed to, if I didn't do that, so I get a scissors and I kind of just make a tiny hole and put my air in there. So now this portion can lay really really flat, but I'd go ahead and do is get freezing spray I'll apply the spray right around the edges. So I spray on topic because it has a way to kind of run them so at once. I spray I kind of top it in you kind of just want to spray the portion to where you're going to leave the front of the wave. So after I have that spray literally, what you need to move on to do is dry, the area so that it sticks so a very important tool that you need as well, for this process is a blow dryer, and you want to enter that. You put it on cool air, never hot air guys because heat will not even do what you wanted to do. It just remove everything. Cuz. Okay, with this, it's not once wet once you sweat or water touches it. Then it loosens okay. So it's really easy to remove. Actually it's not cool not at all, and this will take like five minutes. Believe me dry, so quickly. It'S like completely dry completely dry, yes, and, as you can see this part or look melted into this more again is a scissors and I'm gon na start cutting away the excess portion that I don't want at the front. So you want to take your time because you don't you do not want to cut any of your real here, actually going to use a razor blade to make it kind of easier, alright, now that I'm all done with cutting away the excess. This is how it's looking so you see, I got it really close. So what I'm gon na go ahead and do now is apply another layer, but I'm not gon na do the entire area all at once. So I'm gon na take my wig off and this oh gosh look at those curls really juicy and gorgeous all I did for this. I just kind of mixed up. Some tops a bit just a bit of conditioner and some water, and I got it, wait and brushed it or just go ahead and plug that on, like so, you guys see how white this is right. So what I'm gon na do before I put it forward, is I'm gon na get my face powder and I'm just gon na dab it on to the cap. You know so it looks more skin like and kind of match my natural skin tone better. I'M gon na pull back my wig forward and see everything is looking. What I'm gon na do is take one side at a time and start securing it to my edges that take my spray again and just put the wig down immediately over it just like that. So I'm gon na take the back of this light rat tail comb to just further push it in it. What I'm gon na do to just feed up this whole drying process is use my dryer again, so this really speeds it up and make it even more. Even easier to apply, I'm all done securing the wig and just look at this goodness. It looks so melted. It looks like a spear for my skin right. I don't for my scalp whenever I do this method. Trust me, I don't miss. I do this method when I don't necessarily want to take off my wig every night, so this method helps me to keep the week on for like at least like up to like three days. For me, I use, I mean all depends on how much you sweat. It depends on your daily activities like if you were cold and stuff so like you, can use sweat, really hard and it's gon na come off quicker than you'd like what, if you're going off for a chill weekend, you know chill vacate you're, not letting get it Wet like it's perfect, you know look at that, and this is the lowest on this. Wig is beautiful. Yes, it came bleached and it's the new and improved lace from RPG hair, calm, okay, guys so like the list looks so realistic. Look at that! That'S gorgeous love! It guys, I absolutely know if you guys noticed I secured this week without having to do any baby here, is really like. Isn'T that, like bomb so now that I'm done with that, I kind of just want to focus on the hair. So I'm just gon na proceed to just brushing dome back the top for shine, because I love when my hair looks really good and it looks so pretty. Okay, look at that bones very good! So that's how I melt my lace and make it look slate and very realistic. I really hope this video helped you guys, oh if it was go ahead and give this video a thumb up. Yes, all the specifications to this gorgeous wig will be down below in the description box. So go ahead, check that out. Also, if you're interested in purchasing this wig, the link will be there, and if you are looking for some dollars off, then you can go ahead and use. My discount codes, 215 or petite 10 stay tuned for the next video bye.


Comments
Juanly Ramirez: So beautiful! OMG! I’m definitely buying
DaNubia T: Wow love the video i will be trying this thanks and your very beautiful
April Dawn: I can listen to you speak ‘til the end of time! Lol! Thanks for the vid! New subscriber!
Sechiwaa: This hair is soo beautiful but DO NOT PURCHASE IT, I purchased it and it lasted me about a month and a half, the bottom was matted, it was dry and tangled. I followed all the care directions but it wasn’t salvageable. I really wanted this hair to work
Margaret Pierre: New suscriber
The Squonk Of Pillinger Forest: I'm damn near bald. Wtf am I doing here
- gontasbug -: I KEEP GETING ADS FOR YOU OK YOUTUBE I WATCHED IT
BadLuhSpamiana •: Your voice doesn’t match how you look your pretty tho