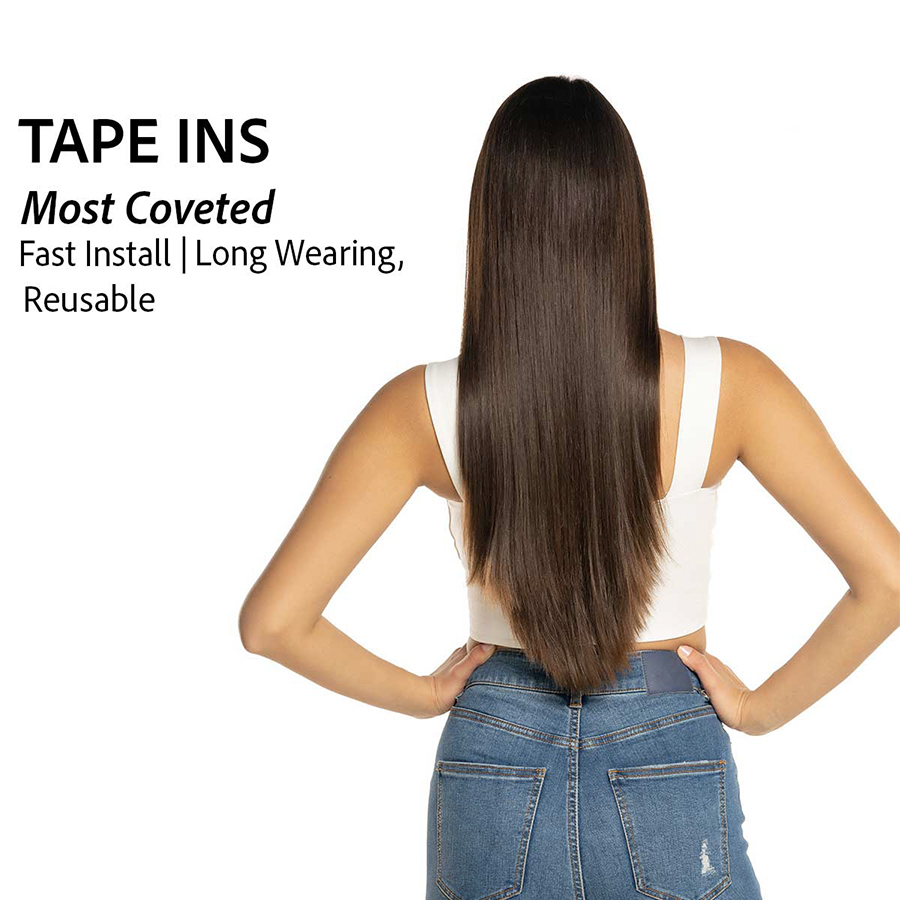
Hair Affair Dual Tape-In 6 Piece Extensions System
- Posted on 19 March, 2013
- Tape-In Hair Extensions
- By Anonymous
Get the longer, fuller hair you've always wanted in a matter of minutes! Our new Hair Affair Dual Tape Extensions are quick and easy to install and give you long, luxurious locks in only 30 -- 60 minutes and available in 15 shades! Can be seamlessly integrated with the Hair Affair Tape'nLock system.
Stylist Benefits:
• High quality 100% Remy Hair
• Long-lasting medical grade adhesive
• No expensive application tools required
• Fast installation and removal
• Quick and easy re-taping process
• Valuable salon service - Increase Salon/Stylists profits
In Canada Call 1-800-268-2242 to find a distributor near you
Song title: Something Elated
Artist: Broke For Free
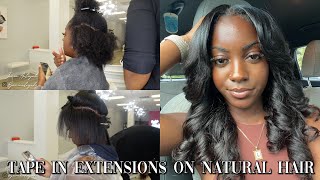
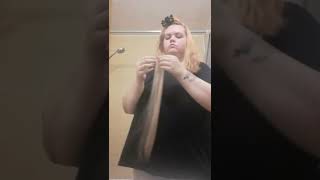
Hi I'm Lindsay, and these are new dual tape. Tape and extensions by Merritt bear it's 100 % ready hair. Each panel is 18 inches long and one and a half inches wide. There are six panels per pack, it's available in 15 different colors, including four fashion colors, to do an average full head. It takes approximately four packs or twelve panels, and only about an hour of your time the installation will last up to or longer than eight weeks and another benefit is that they can be removed, retain and reinstalled no need for the client to purchase new hair. Now, let's begin, as you can see, our model already has long hair. So this application technique is not so much for length rather than for volume and for highlights. You want to start with well clarified, hair, using a professional clarifying shampoo, shampoo, the hair types and on the last shampoo leave it in for about three to five minutes before rinsing. Do not condition the hair or use any products simply blow dry flatter and straight, and then you come. You want to start with a nice clean section as I've already got, then you want to take your first panel section, which is a very thin piece of hair. No more than one millimeter thick and one and a half inches wide the same with the panel of the hair. You want to always remain at least two finger lengths in from the hairline. So if our client chooses to wear her hair up, you don't see the installation you'll start by removing the protective coating and an earring just to the very bottom choose health hopes up rolls away. If you place it approximately half a centimeter to wonderful centimeter away from the scalp pressing down on that piece of hair, a key point is afterwards: you want to just roll your tail bone over top of the tape to remove any extra hair to ensure that second Piece of tape sticks to the first section, the extra hair away from the tape. Then you take one more panel again remove the protective coating and adhere it tape, line to tape, line starting from the center and working your way outwards to ensure there's no air bubbles. You want to go over that at least three times and there's your first beat when you're placing your second panel. You want to go approximately one finger width apart from the first one and again for no more than two finger widths from the red red light. Sighs section is the first, which is again one and a half inches wide, no more than one millimeter thick same technique for moving the protective coating fastening just switch to the bottom of the telephone and placing it akka, seven Eaters, one centimeter from yourself rolling away to Telephone for moving excess hair there shouldn't be too much and then hearing one more panel on top of the first tape line, to take line starting from the center and moving your way out to remove any air bubbles at these three times, as I mentioned before this Technique is for volume and highlights rather than for life. However, I was installing for life. I would make sure my next section be one to two finger widths from the LES in any installation technique. You want to make sure that you are bricklaying rather that place in the panels, one on top of the other, meaning that my next piece will be in the center of the head, rather than just off to the side. The reason for this is that you want to fill in any holes that are Friedan in the leg. As you can see, I have now completed the volumizing installation. The next step will be to cut the hair for the most natural look. You never want to blood cut all this point cut or slide. So now your quick and easy removal using your hair farad fabric, simply saturate the tape line both on the top and on the bottom and the massage. Then, taking your tail end of your comb, you're going to want to pry apart the two pieces of tape starting in the center and then working your way to the sides and there you can see your removal completed damage free once you've removed the hair from the Clients head: you want to then wash it and condition it with professional color treated, shampoo and conditioner. You want to make sure that you only condition from mid shot down. You'Ll then fully dry, the hair and you'll notice. Once the hair is fully dry, you can simply pull off the old tape now you're ready to apply the new tape. You'Ll start by applying the end of the tape to the end of the polyurethane strip gently and evenly pressing along as you move along the tape line and simply cut off the extra tape you're now ready to reinstall. This is our dual tape: buy, hair, fair extension, installation tips and tricks video I'm Lindsay. Thank you for watching

Comments
Nancy Chetty: I live in SOUTH AFRICA ,Durban Where can I buy these extensions plz desperate
Amp art: There are no videos for tape in extention for short hair could u please. Try and help me out I have middle of the neck short hair and it's possible. For me to wear clip ins. But I'm thinking. About tape in extension s. I bought some hair affair extension s. I'm just scared to put them in please. Help me lol