Diy Heatless Curls In 5 Min | Bri Beauty
- Posted on 31 January, 2015
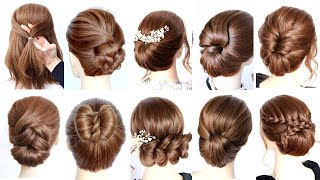
- Heatless Hairstyles
- By Anonymous
This is something I do all the time when I am to lazy to do my hair or just don't feel like using heat on it. I also do this a lot just to add texture to my hair for different hairstyles. I hope you try it out! I'll see you all next week! Don't forget to like and subscribe. It helps me out a bunch! Bye lovies xoxo. Pintrest: Bri Beauty
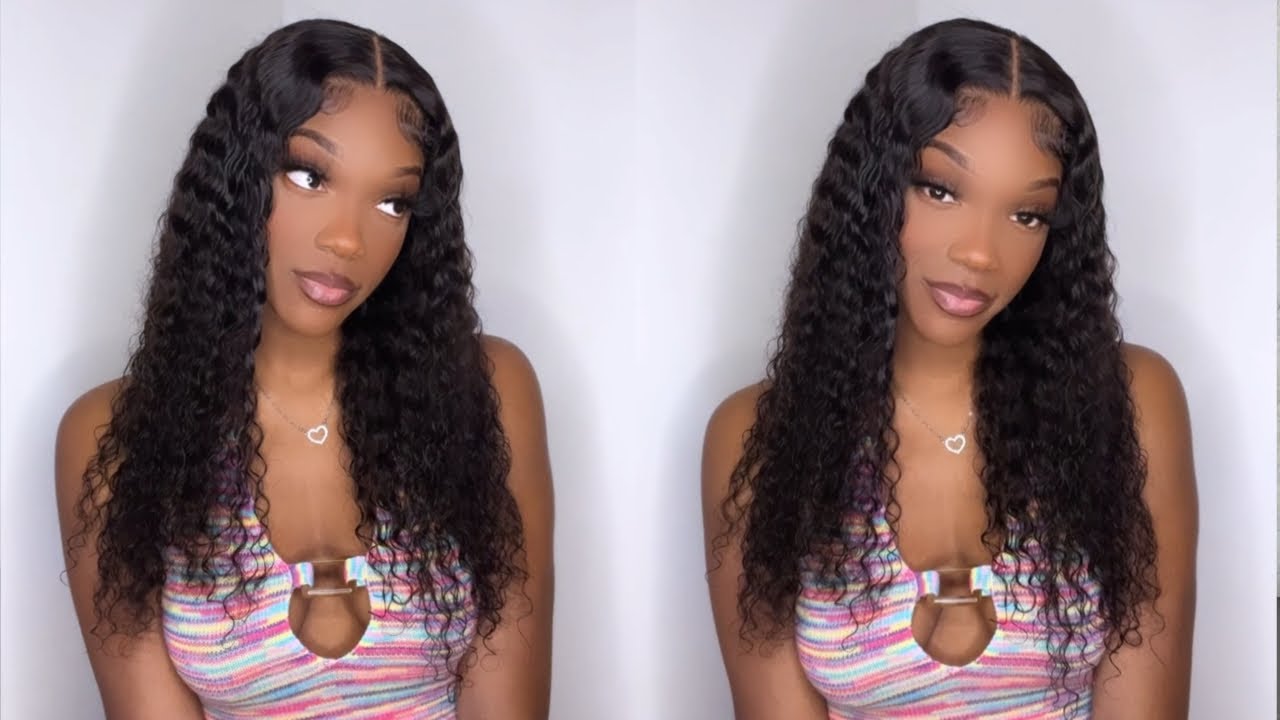
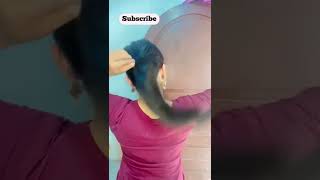
I'M going to show you how to do my heatless curls and all you're going to need is two hair ties and both your hands so first off, i start by doing a semi middle part. I look weird with the middle part, so my middle part's, more of like a normal person's like side part, because i like the dramatic like side but um, so you want it to be mostly, even because you want your curls to be. Even so, you want the same thickness on both sides, so just start by parting, it and then you're just going to split it into two separate sections, so all of your hair should be forward. So i start on mine about a 90 dry. All i do to slightly damp mine is run my fingers under water and run it through my hair until it's slightly damp or you could just use a spray bottle with water or you could use your hair when it's almost completely dry after a shower. So i just start off by parting it and then we're going to start on one section, so you're going to section off a chunk of hair in the front, so you're not going to go all the way back. It'S on the top of your head, and it's about like two inches so you're going to take this section and you're going to split it into two. So you want these to be even to get your e. Your curls started off. Even then you're going to curl away from your face by twisting the bottom one on top of the other one. So now the two are twisted, so next you're going to grab an entire section, so i'm starting all the way from the back and dragging it forward. Taking an entire layer of hair and adding it to the bottom strand only and then you're just going to twist those over okay. So now you have your new bottom strand and you're going to do the same thing. Take an entire layer of hair, drag it and then twist them so you're going to do that all the way down your hair until you reach the bottom, where you have no hair left on this side. So i'm just going to show you a couple more times before i speed it all up so you're going to take a section from all the way from the back drag it forward. Add it to that bottom strand and twist it over. Don'T worry about it! Being perfect because we're gon na be sleeping on it, so this doesn't need to be perfect. So don't freak out about that then you're gon na take another section, then add it to the bottom one and twist them over. So i'm going to go ahead and fast forward, so you can see me do all the way down. So once you reach the bottom you're going to make the two strands into one and we're going to twist it into a bun type thing, but you don't want it to lay flat against your head, because then you won't get the curls, so you're gon na make It into one section you're gon na twist it and then wrap it away from your face, so you're gon na bring your other hand back behind you to hold it in place. While you work with this other hand, so you're going to twist it around wrap it over, so you want each time you go around to be below the second one. So you're going to oops just pulled out a piece of my hair you're, going to twist wrap it around and in front twist wrap it around and down now you're going to take one of your ponytails and you're going to hang on to your bun. While you wrap it - and mine goes about around about three times, but it's going to vary on the thickness of your hair and same will the size of your curls. But once we have this, it is flat because it's underneath our ear. So when we lay down to sleep, it's not going to irritate us, so i'm going to go ahead and do the other side and just fast forward through that. So you can see the whole process again and don't worry if you have layers or bangs coming out. You can always bobby pin those in to your twist. You just want to pull it back and stick a bobby pin into it in the direction of the twist. So then that way it will all lay in the same way, and you won't be able to tell the difference in the morning so again at the bottom you're going to twist it to a bun. I can show you the whole process again just in case you're. Confused on it just to make sure you have it all done so you're going to twist it away from your face, you're going to go the opposite direction. You want on this one because this one's on the opposite side of our face and we want the curls to curl an opposite direction. So you're going to curl away from your face and twist it around away from your face and twist it around. Just keep doing that all the way down until you have no hair left to twist then you're, just gon na hang on to that grab your other ponytail and twist it around the bun until it is secure. So now you have your two little buns and this flanky little hairstyle, so just sleep on it and in the morning when you wake up it'll be beautiful, so i'm gon na go sleep and i'll. Show you what it looks like when i get hey. So i just finished doing my hair and i just took out my buns - and this is the finished product that you're left with - i put some frizz, defying hair gel in it and then also put hairspray on it. So it would last all day - and this is the finished product - i have lots of other methods on how to curl your hair overnight or make it wavy overnight. So if you'd like to see those just, let me know - and thank you guys so much for watching. Don'T forget to like and subscribe so i can reach the people of the world. Yeah i'll see you next week. Bye
Comments
Gabi Singh: So gorgeous!!! My hair is shorter than yours, maybe up to my chest. Would this still work??