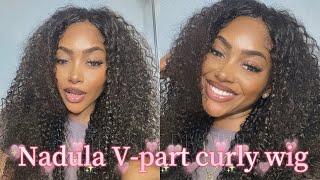
Diy: U-Part Wig
- Posted on 17 August, 2014
- U Part Wig
- By Anonymous
Products Used:
Dome cap
Needle
Thread
Scissors
Large wig clips
Hair combs
T-Pins
Styrofoam head
Mannequin Stand
Hair Used:
Peruvian Natural Wave two 22 one 20 and one 18 inch
From www.hairenvymemphis.com Instagram: @hair_envy901
My Instagram Pages:
@mrs.kyra.hunt
@viva_la_hair
Hello, everyone, my name is kara and I'm going to be doing a. U part, wig tutorial for you here are all the products that you will need and i'll also post them in the description bar. The hair that I'm using today is by hair envy 901. I'M using to 22 inches a 20 inch and an 18 inch, and i will post your Instagram name in the description bar below, as you can see, I'm starting in the back of the head and i'm using the loop and pull method. Once you get the first row installed, you want to fold that West opening. I try not to cut my lips because it helps the wig last as long as possible, as you can see, i'm getting the end very secure and tight, because i don't want to have to worry about it. Coming up, i'm still using the look and pull method. You want to make sure that you're stitching remains consistent throughout the entire head. That way, your wing can last as long as possible. You you once you get to the sides, you want to start bringing your tricks all the way up, the perimeter. That way. If the wind blows, you won't be able to see any tricks and, as you can see, I'm marked where I wanted my trex to start and stop. So I knew not to go beyond that point. It may be different for your head, because everyone's head is a different size, but this way works for me here I'm about halfway done. I'Ve installed the first two bundles and, as you can see, the hair still has the wave to it, and it's very very pretty. If you guys want to see a review on this hair, please let me know in the comments and I'll be glad to you now you can see the u-shape starting to take form. You just want to continue laying the track and field using the loop control method until you finish the entire head, when you get to the top, you want to also make sure that the stitching is as close as possible. This will help for your ucard to lay as flat as possible and look a lot like a soap man once you've completed sewing all the way up to where you marked off, where your legal will be. You want to cut off all the excess cash and for me, I sold on wit, clips and columns, and I will show that in the next video I'm also going to show you guys how I install it. So please stay tuned for that.


Comments
Vlogging With The Morris': Such a helpful tutorial!!
Justina Houston: The Best u part wig video.. can you make more..
Justina Houston: The Best u part wig video.. can you make more..